Chicken Kabobs Veggies and Potatoes

Wooden tray of chicken and veggie kabobs and grilled potatoes

Chicken Kabobs Veggies and Potatoes

The grilling season is here. It’s time to fire up those grills for some delicious foods and summertime fun.  Our Chicken Kabobs, Veggies and Potatoes are a great way to start off the grilling season!  

Hi Friends!

Don't Miss out! Subscribe Now!

By joining our community you’ll receive our free Meal Planner, Grocery List and as a bonus we’ll also send you our two favorite recipes! 

Chicken Kabobs & Colorful Veggies

You know when it’s summertime grilling season, it’s also fresh Veggie season.  Your favorite produce stand should have an abundance of fresh picked produce every day.  If you have a garden, it’s just a walk away to all that goodness.


For our Kabobs we decided on Fresh; tomatoes, zucchini squash, bell peppers, red onions, limes/lemons, and garlic.  But, you could add in any of your favorites.  

The Kabobs

You can make kabobs with a variety of meats, for our recipe we decided on Chicken Breasts.  We purchased ours boneless and skinless.  It isn’t hard to bone or skin the chicken, but we find this a bit of a time saver.  Who doesn’t like that?  For our recipe we used 1-1/2 pounds, sliced into 1-1/2 ” chunks, and seasoned with salt and pepper.  

The Marinade

Our marinade is simple and uses pantry items and dry seasonings.  In a mixing bowl large enough to hold the marinade and chicken, add dried thyme, garlic powder, dried oregano, dried sage, black pepper, smoked paprika, onion powder, olive oil, honey, soy sauce and a bottle or can of your favorite beer.  Using a whisk or spoon mix ingredients thoroughly and then add your chicken.  Cover, place in refrigerate for a minimum of 1/2 hour and up to 3 hours.  We recommend 3 hours.  

Up Next: The Veggies

Rinse and pat dry those fresh grown veggies.  Well, except the garlic.  You want to cut them into slices of a similar size as your chicken.  Be sure to remove seeds and stems.  Pile them all into a microwave safe bowl.  Drizzle about 2 tbsp of olive oil over the veggies and mix to coat each veggie.  

Let's not forget the Skewers

We’ve used metal skewers and the wood type.  We prefer the wooden skewers.  It makes clean up much easier.  🙂  Fill a long narrow container with water and add the skewers to soak.  This will keep them from burning during the grilling process.  

That’s it, your done with the prep work.  Now fill a glass with your favorite cool beverage and relax for a few hours.  

Tic Toc....A few hours later

We find our chicken will cook up faster than many of our veggies.  So, we pre-cook them first.  Remove cover and place a dampened paper towel directly onto your veggies.  Pop them into your microwave on high for 2 minutes.  Time to Skewer!

Let's Skewer

This is a simple process of adding a mixed variety of chicken and veggies onto your skewers.  Don’t pack these on tightly.  We like to put three to four pieces of chicken onto each skewer and of course, adding a variety of veggies between each cube of chicken.  

Many times, you’ll have an abundance of veggies left over.  I like to make veggie Kabobs with them and will grill them right along side the chicken/veggie kabobs.

Grilling

Your grill should be at a medium to medium high heat.  Once it’s to temperature, add your Kabobs.  These should cook up in 15 to 30 minutes, make sure to turn the kabobs a quarter turn every 5 minutes.  This will assure even cooking and help prevent over cooking.  Once done, remove from heat and enjoy!

The grill we used in our videos is a Bella Indoor Grill.

We are not an amazon affiliate. 

Video Tutorial

We produce our videos to help fill in any gaps or questions you may have.  You can also send us a message or drop your questions into the comments area below.  

Photography to Insire You

Recipe

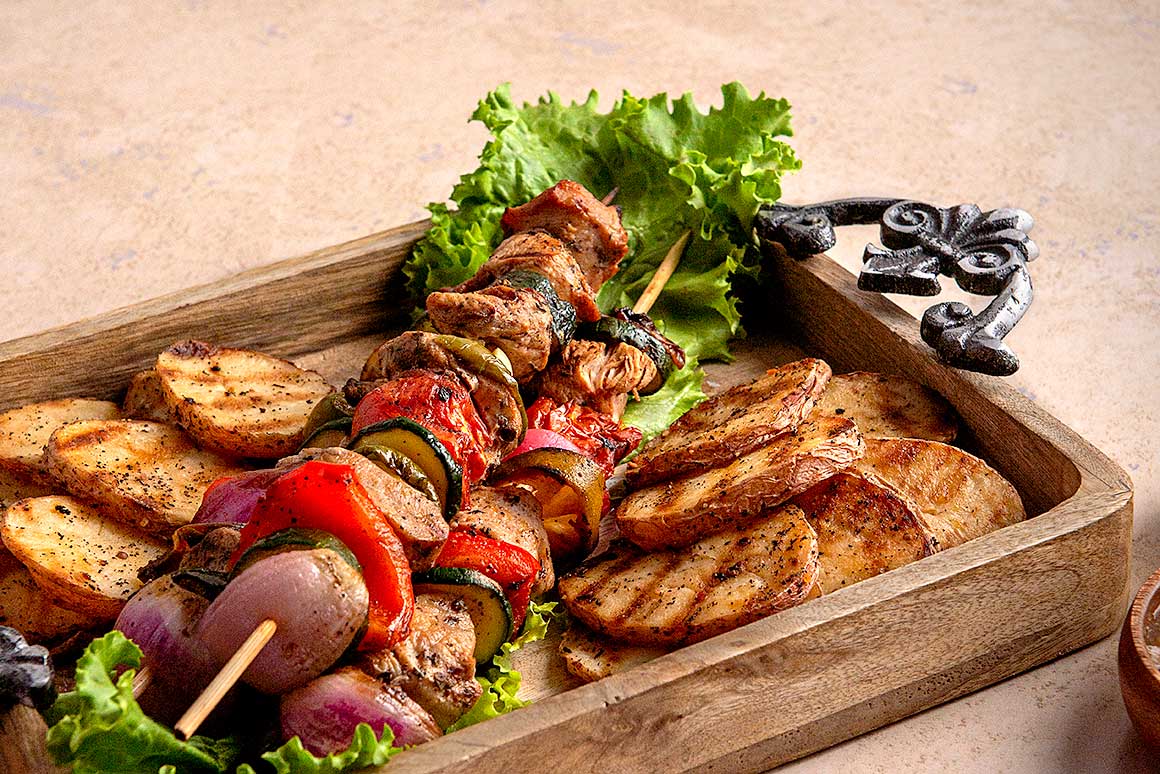
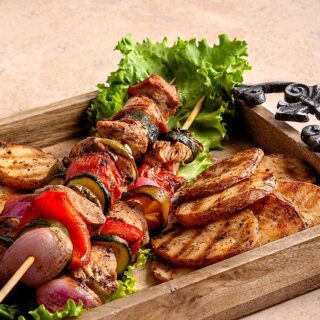
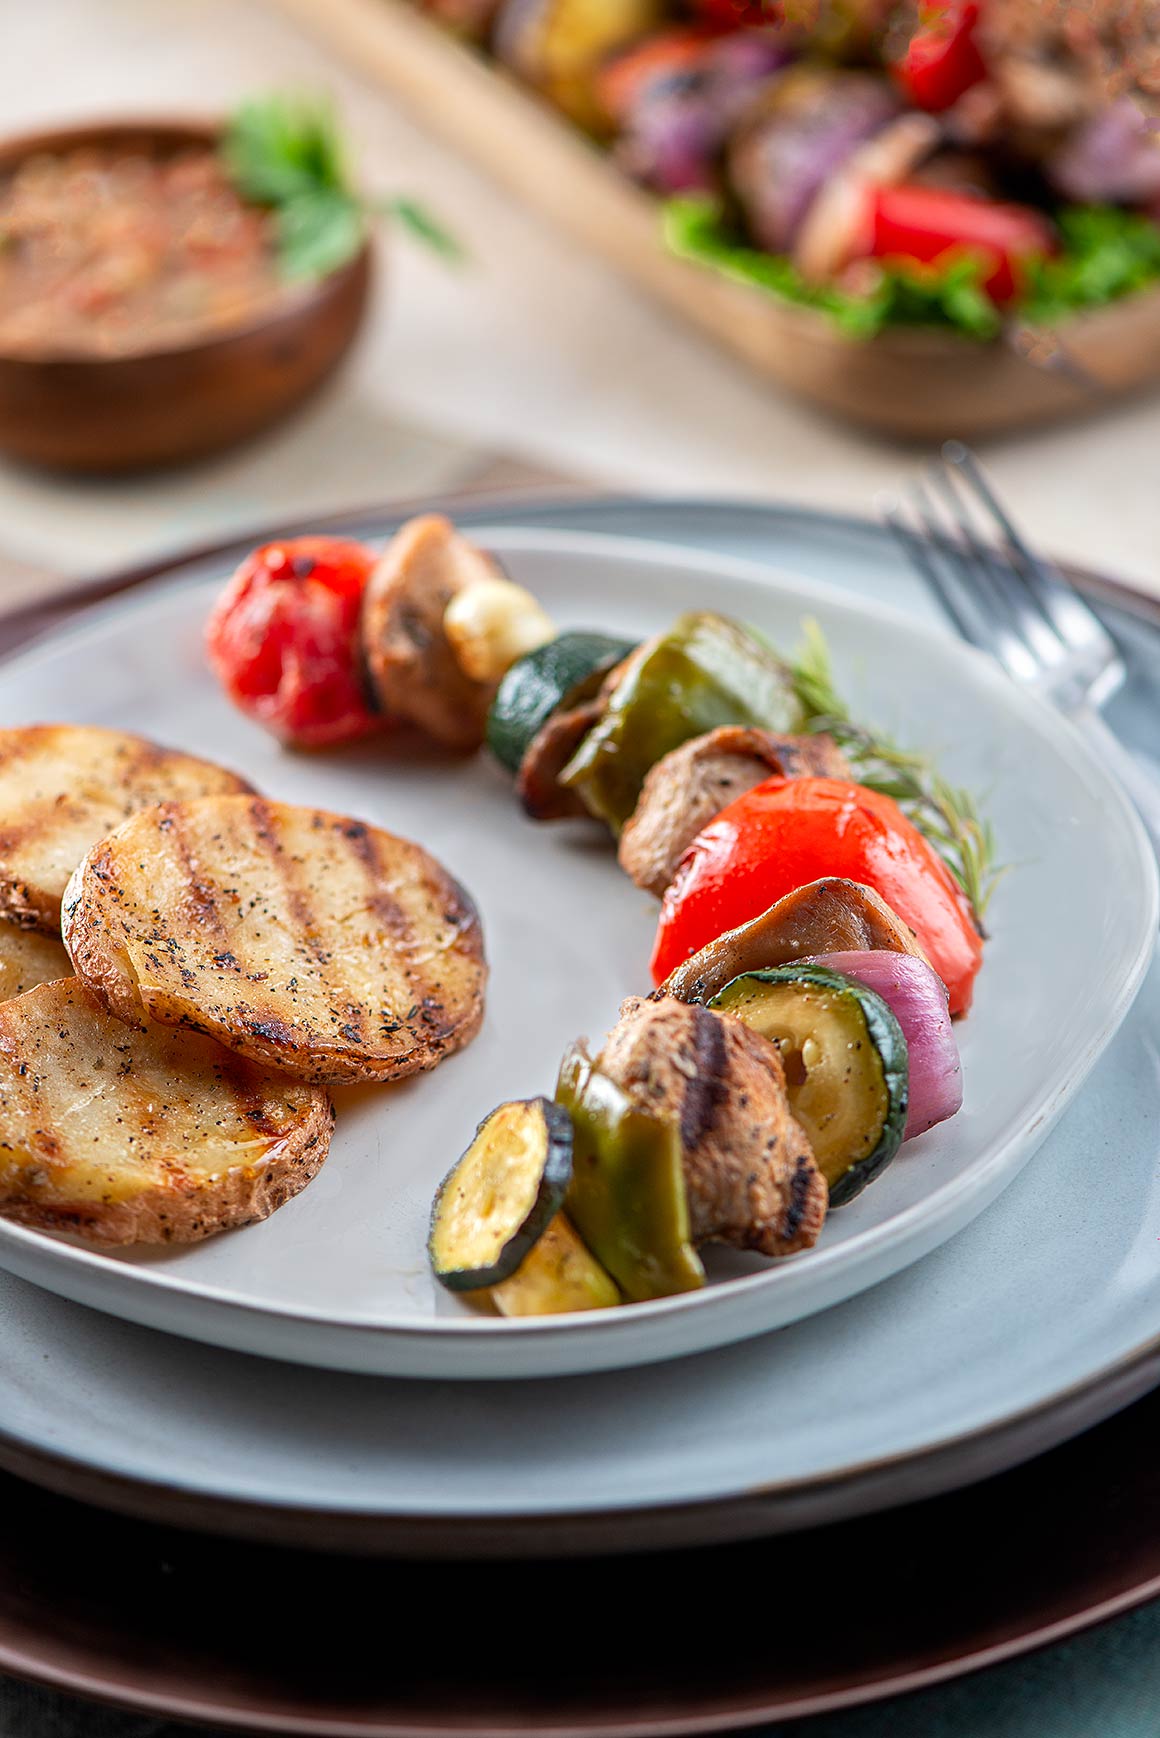
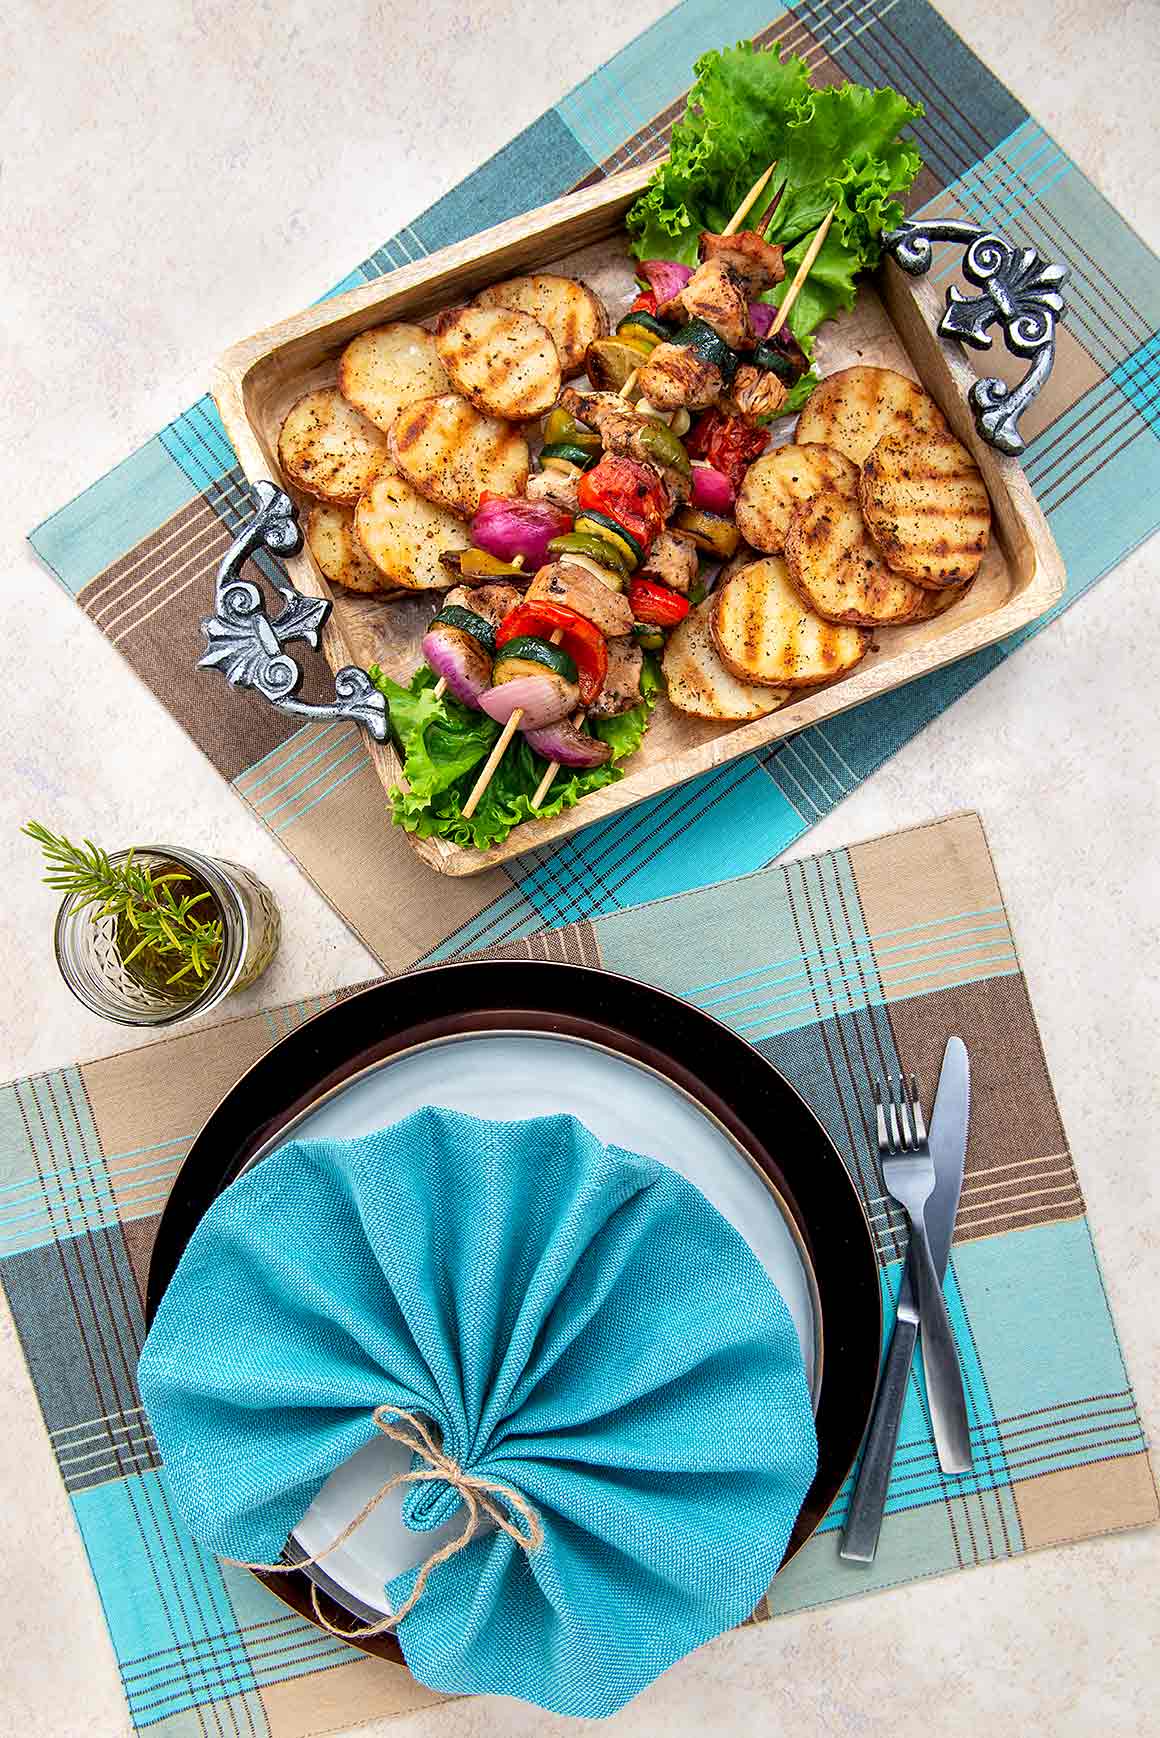
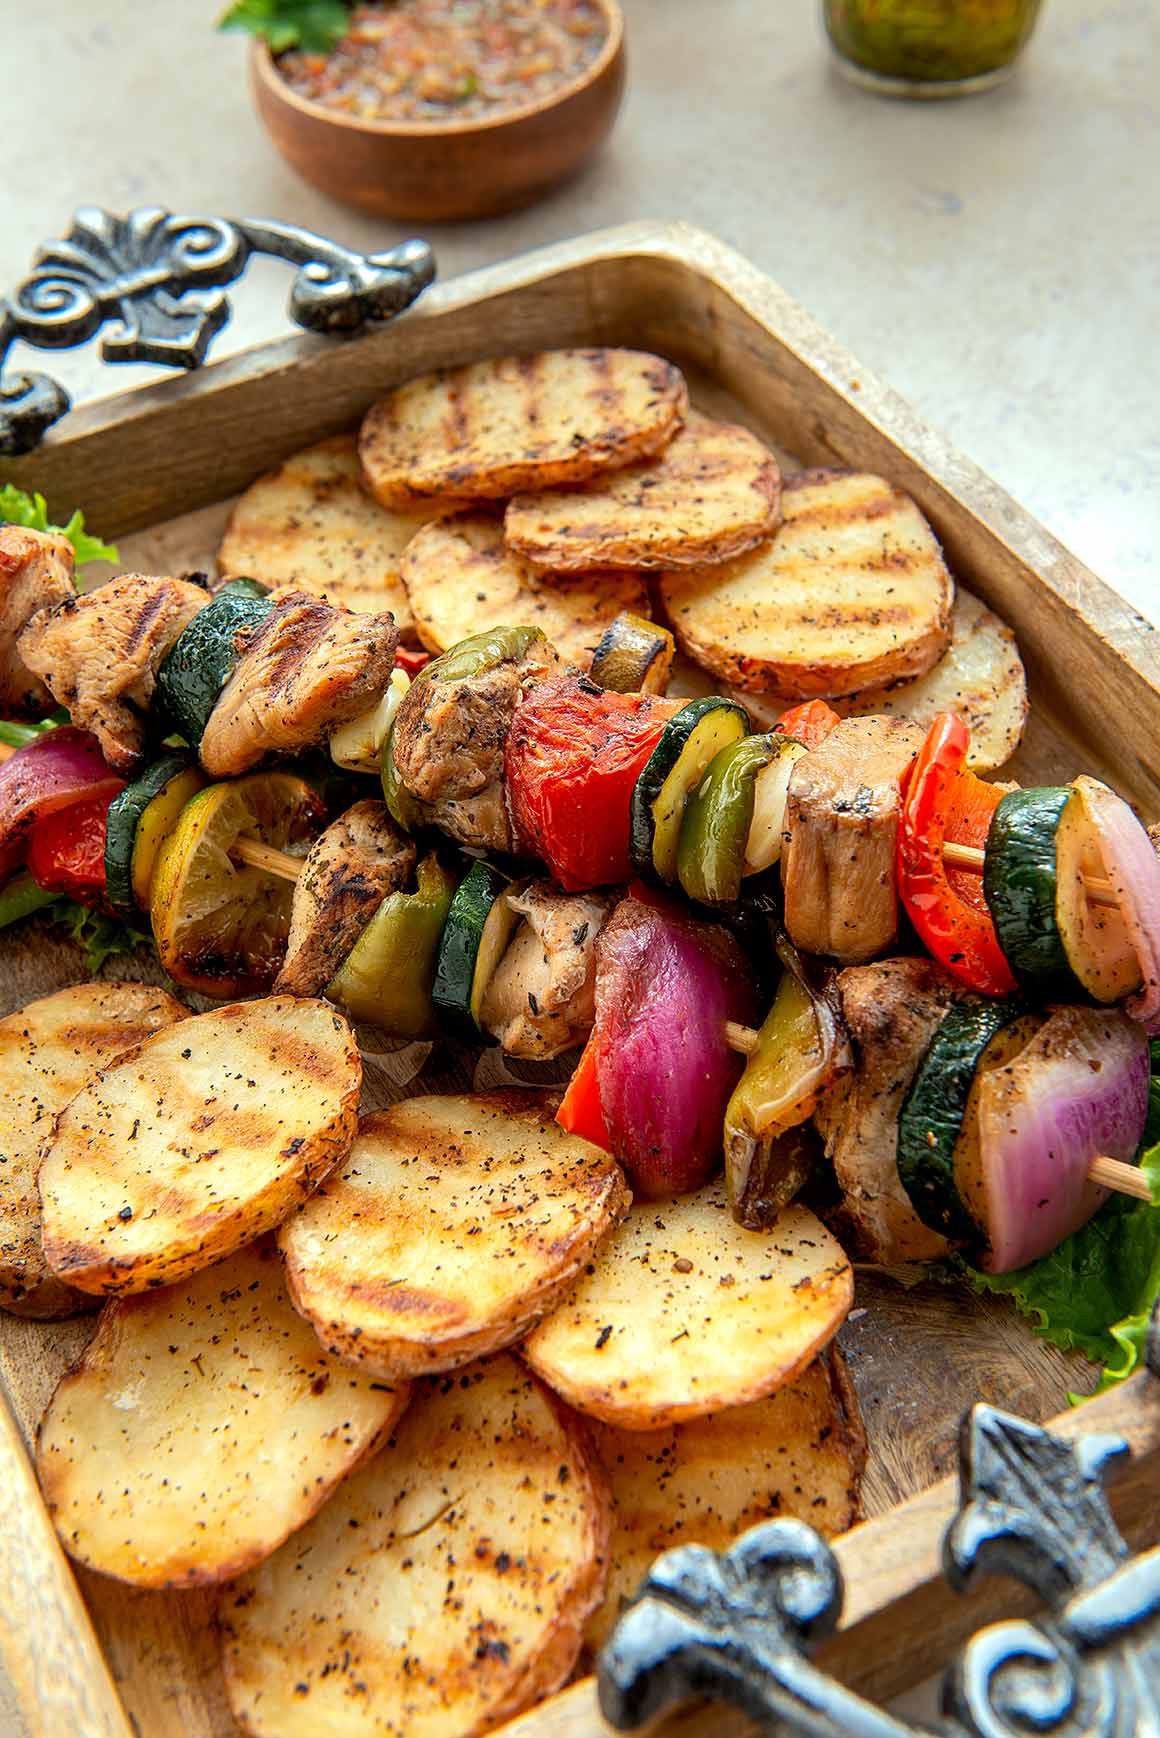
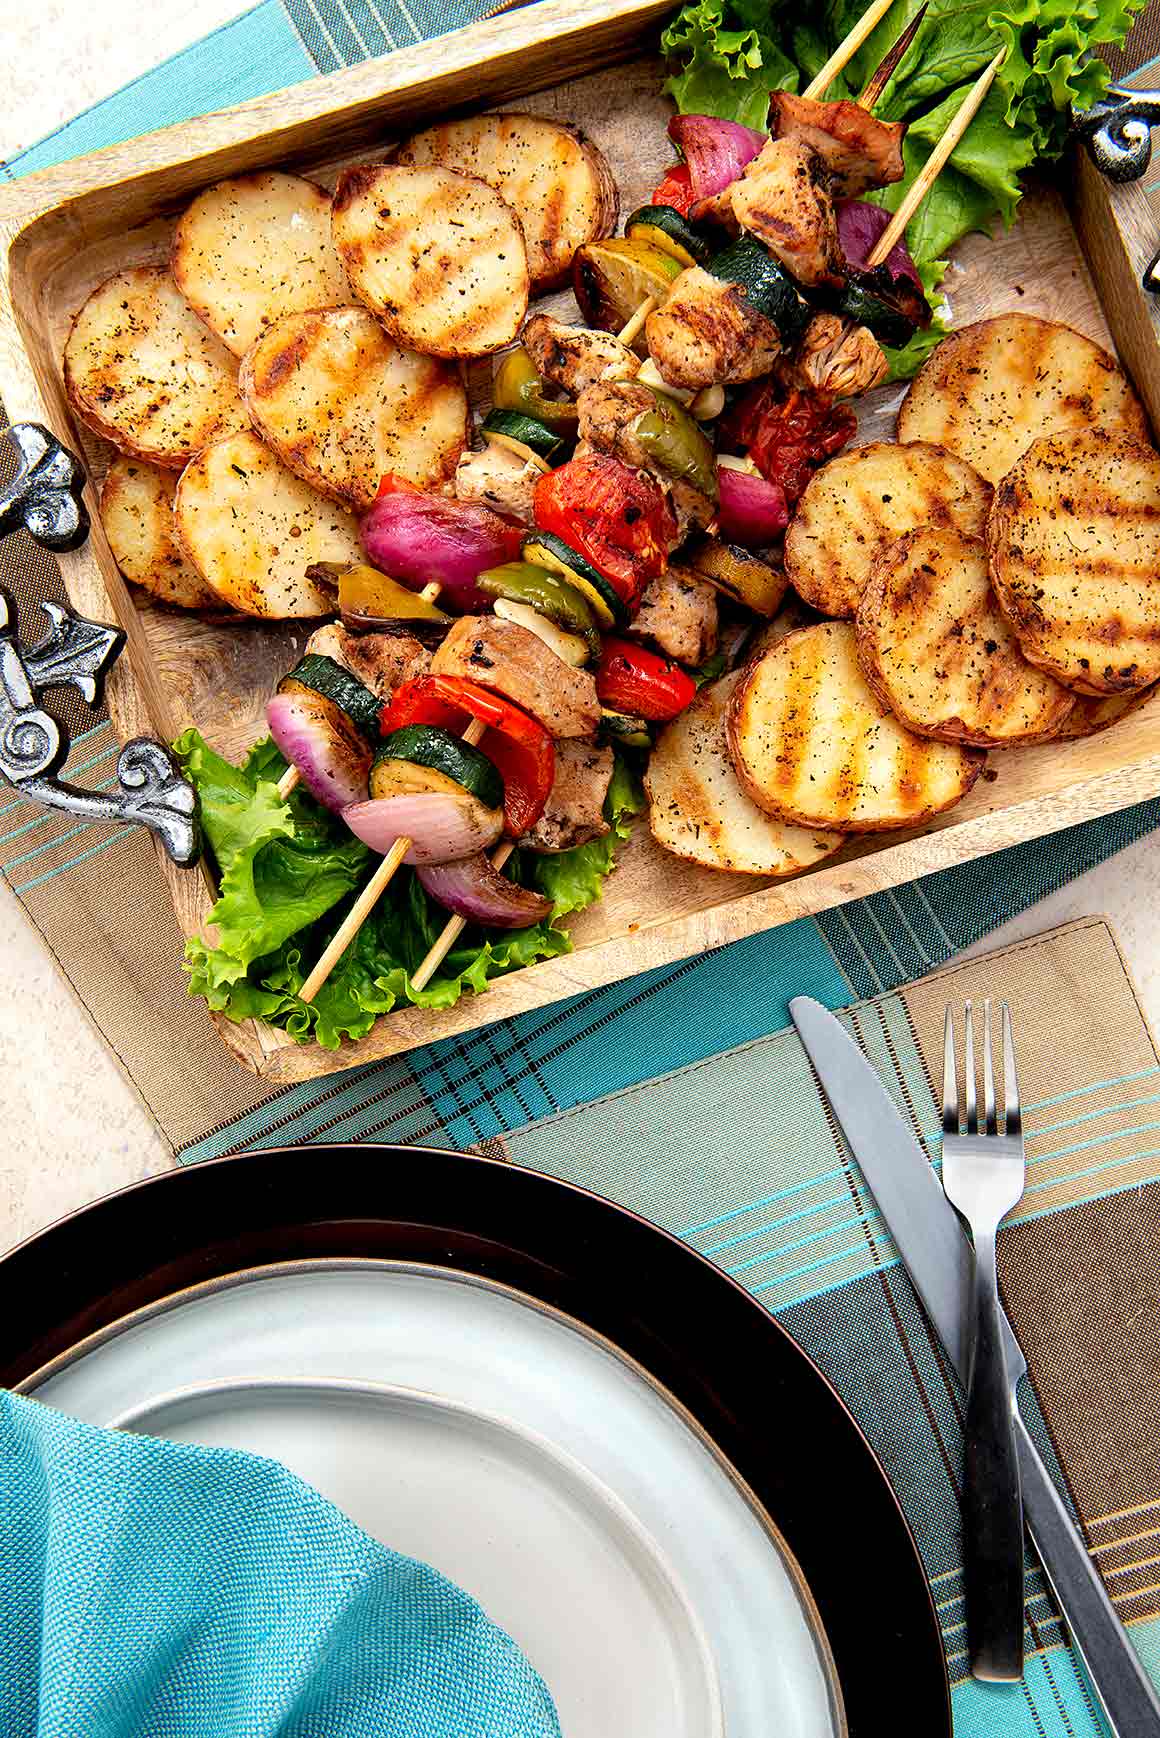
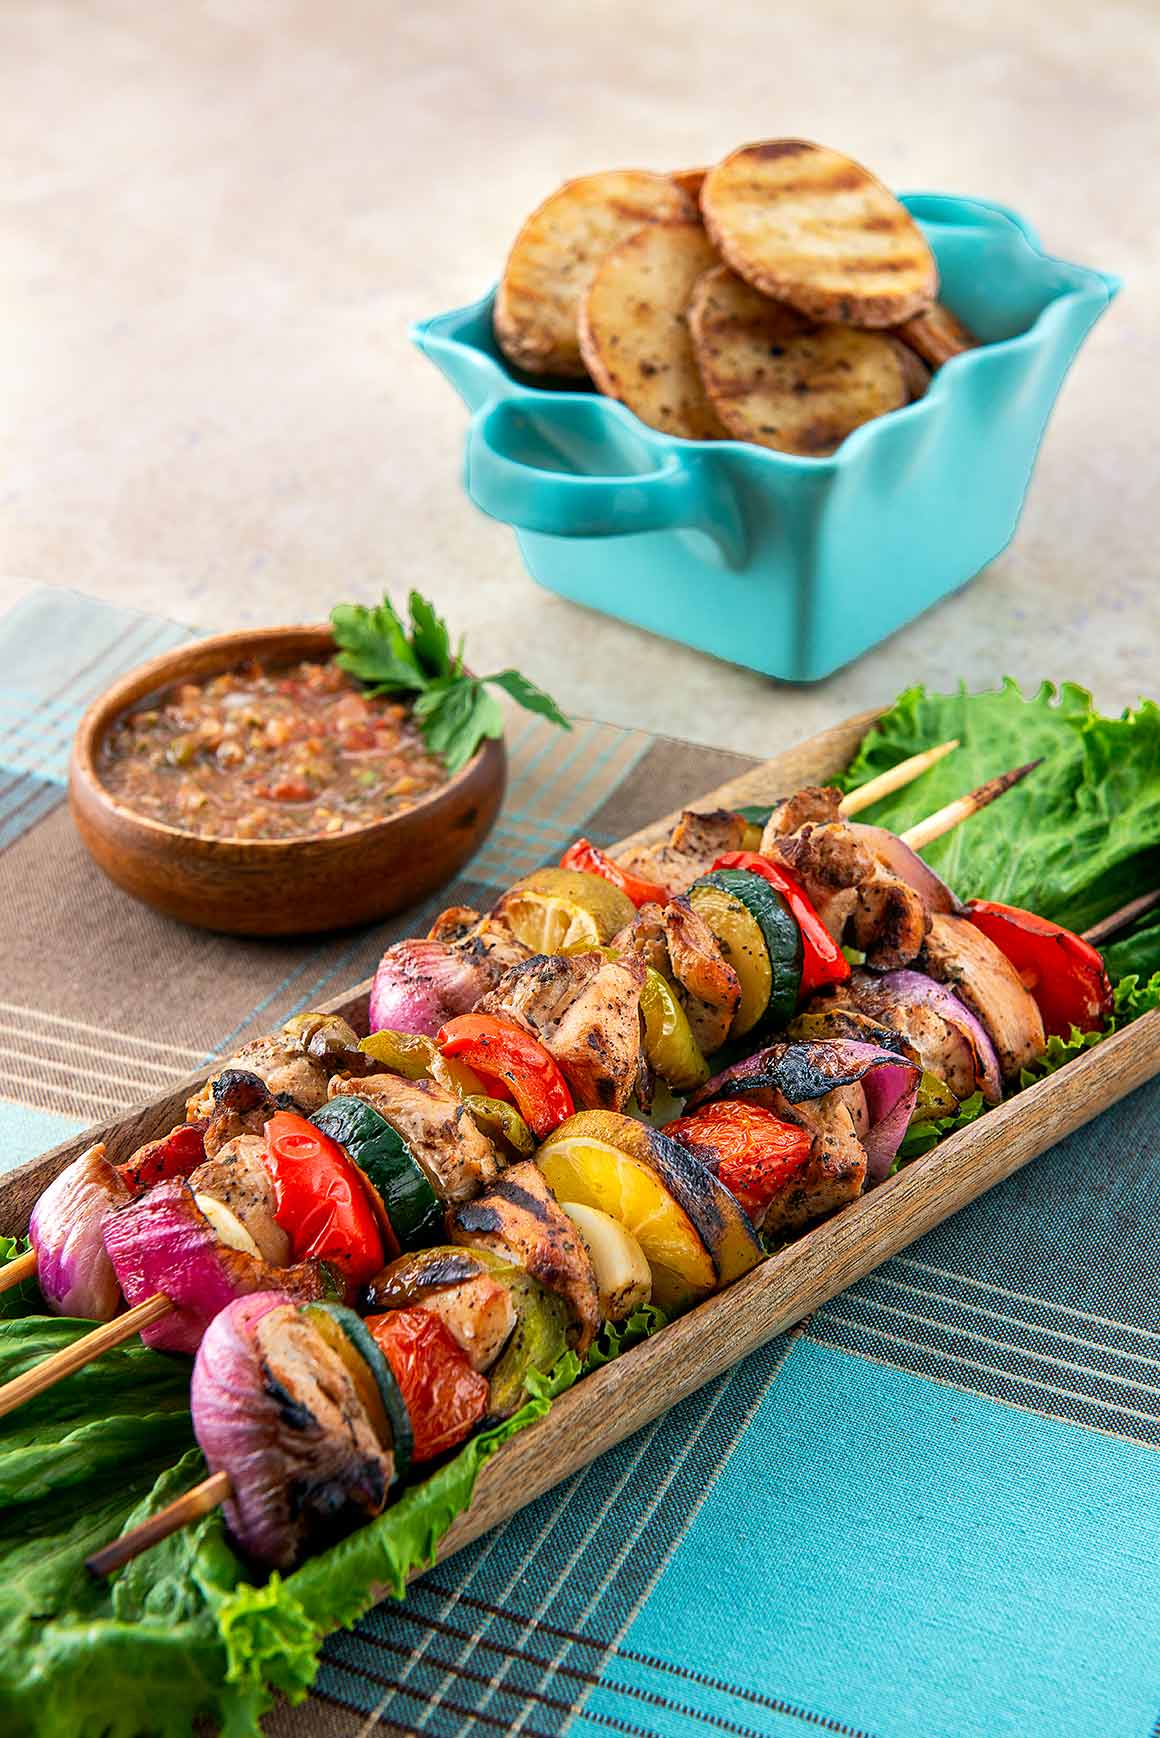
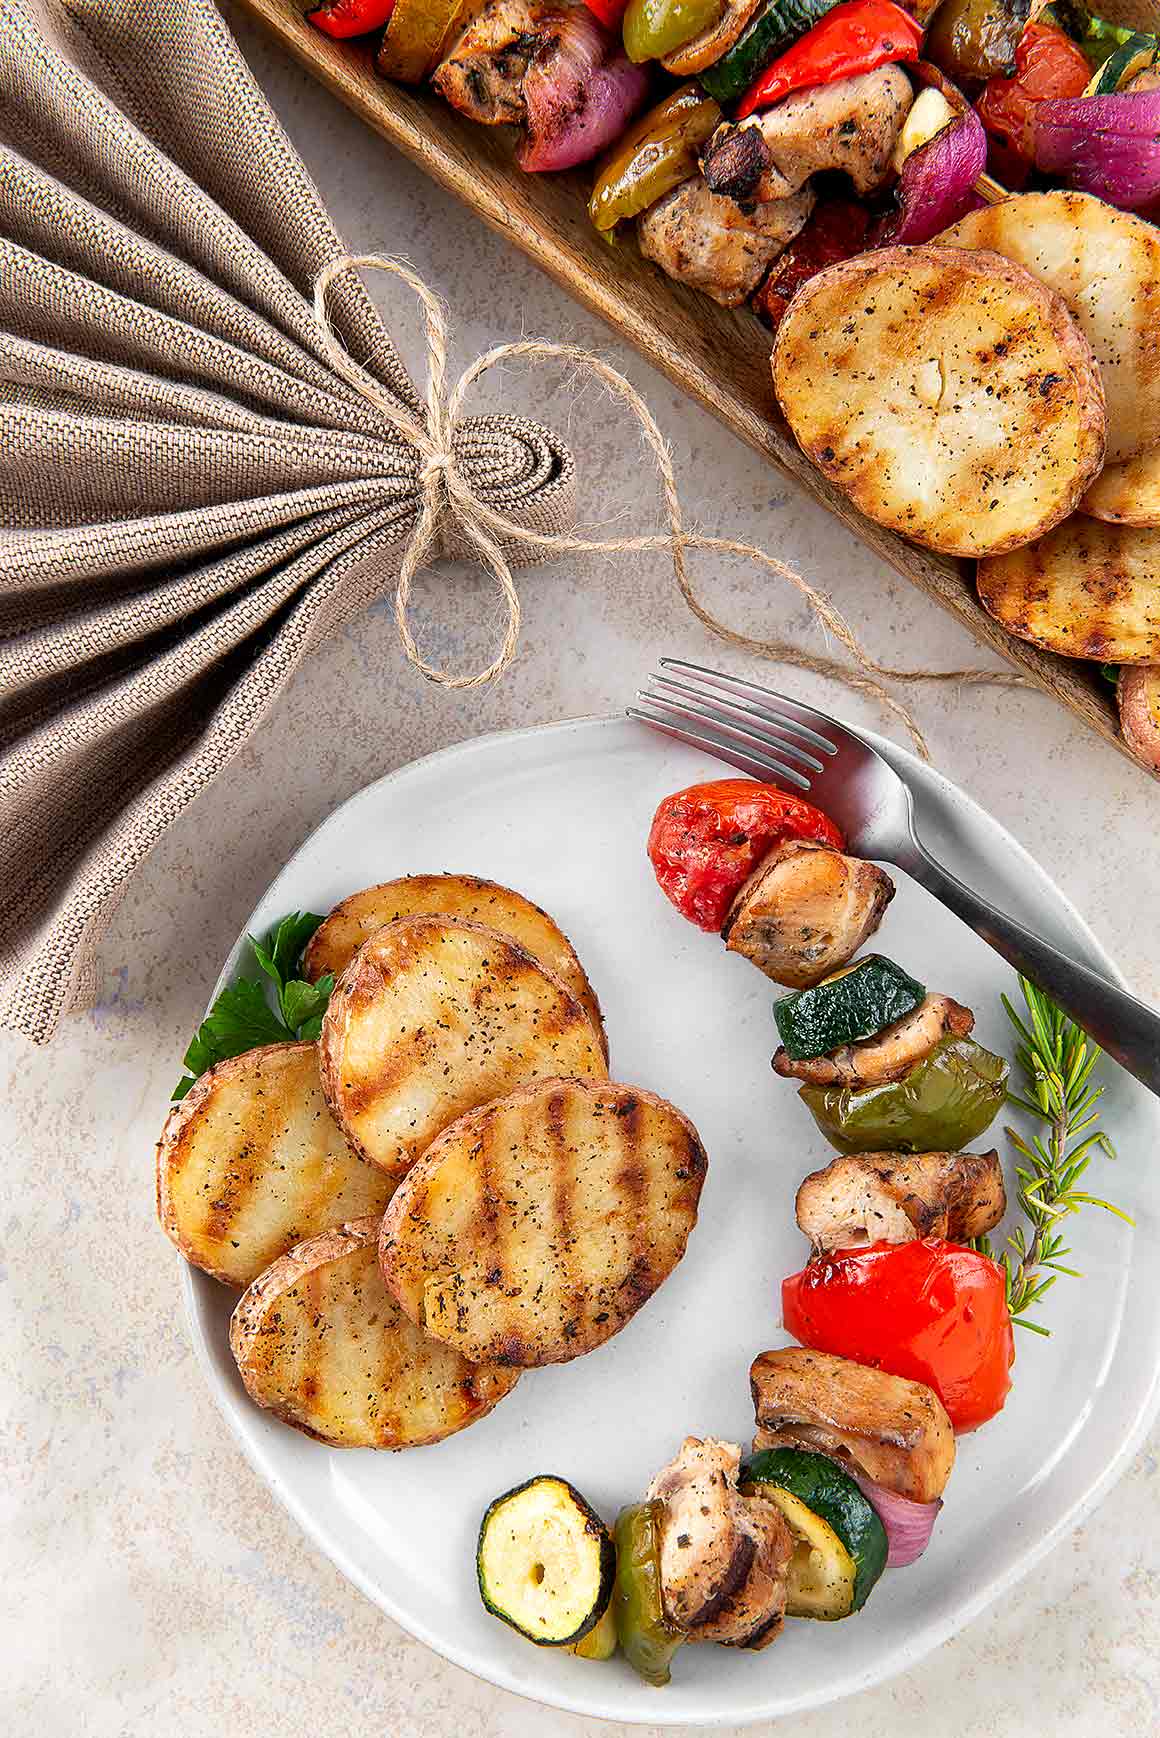
Mediterranean Chicken Kabobs with Colorful Veggies

The Juiciest Chicken and colorful Veggies all on a skewer together!
Course: Main Course
Cuisine: Mediterranean
Keyword: Chicken Kabobs, Grilled, Vegetables, Veggies

Equipment

  • BBQ or Indoor Grill
  • Kabob Skewers

Ingredients

  • 1.5 lbs Chicken Breasts Boneless, Skinless
  • 1/2 cup Soy Sauce
  • 2 Tbsp Honey
  • 1 tsp dried thyme
  • 1 tsp garlic powder
  • 1/2 tsp dried oregano
  • 1/2 tsp dried sage
  • 1/2 tsp black pepper
  • 1/2 tsp smoked paprika
  • 1 tsp onion powder
  • 1 bottle/can Beer, make it your favorite

Instructions

  • Cut the chicken breasts into 1 to 1 1/2 inch cubes and set aside.
  • Cut your favorite Veggies into 1 to 1 1/2 inch pieces. Place into a microwave-safe bowl and cover with plastic wrap or foil. Store in refrigerator. We used red onions, bell peppers, garlic, tomatoes, & zucchini.
  • In a mixing bowl combine all of the dry ingredients.
  • Add in wet ingredients, pour in the beer last. Using a spoon stir to mix all ingredients together.
  • Once the marinade is well-mixed add in the cubed chicken. Cover with foil or plastic wrap and allow the chicken to marinate for a minimum of 1/2 hour, but perferably 3 or more hours.
  • While the chicken is marinating soak your kabob skewers in water. This will help prevent them from burning during grilling.
  • Just before the chicken has fully marinated, remove the veggies from the refrigerator. Remove foil or plastic wrap. Dampen a paper towel with water and place directly onto the top of your veggies. Place the bowl in a microwave set to a high setting and microwave for two minutes. We've found this helps our veggies grill perfectly, without being undercooked.
  • Arrange the marinated chicken, veggies, and skewers into a mini work station and begin assembling them onto your skewers. We like to have a minimum of three chicken pieces per kabob. Loosely arrange veggies and chicken onto skewers.
  • Bring your indoor grill or outdoor BBQ to medium-high heat, then add on your kabobs.
  • Cook the kabobs on the indoor grill for about 1/2 hour, rotating them a quarter turn every 5 minutes until they are done. We've found they'll cook up faster on an outdoor BBQ and may be ready in 15 minutes. Do not overcook the chicken as it will be dry and tough.
  • Serve and enjoy.

Hi Friends!

Don't Miss out! Subscribe Now!

By joining our community you’ll receive our free Meal Planner, Grocery List and as a bonus we’ll also send you our two favorite recipes! 

Delicious Grilled Rosemary Red Potatoes

Delicious grilled rosemary red potatoes just like Nono used to make.  Nono is italian slang for Grandfather and this recipe was originally made over charcoal briquettes by my Nono.  


These bring back wonderful childhood memories of lazy Sunday Dinners at Nono & Noni’s.  My grandparents were amazing and hosted family dinners almost weekly.  Lots of memories of my brothers, cousin and I running around outside playing, and having a great time.  


No family dinner was complete without either Noni’s oven potatoes or Nono’s Rosemary Potatoes!

Let's get started.

We prefer to use medium sized red potatoes, and estimate one potato per person.  Yep, they are that good!  They pair well with most grilled foods.

Wash the potatoes and allow them to drip dry on a kitchen towel.  Meanwhile, lets get the rosemary oil going.

Rosemary Infused Oil

We like to prepare this in the morning or even the night before we plan to grill up our Rosemary Potatoes.  The longer the rosemary sets in the oil the more the oil becomes infused with it’s flavor.


It’s very easy to whip up this infused oil.  It starts with Extra Virgin Olive Oil, salt, pepper, parsley flakes and two freshly picked rosemary twigs.  


All the dry ingredients are place into a small to medium sized mason jar with lid.  Seal it up and give it a good shake to mix up the ingredients.  Then take one of the Rosemary twigs and add it into the oil.  Make sure the rosemary is submerged into the oil.  Reseal  the jar, set aside and let the magic begin.

Slice Up The Potatoes

After your potatoes have been washed and are dry, slice them into 1/4 inch rounds.  Put them into a large mixing bowl and coat them with 2 to 4 tablespoons of Extra Virgin Olive Oil.  This will allow your seasonings to have something to stick to.


Season them with salt, pepper and Garlic and Herb seasoning.  Then using clean hands or a large kitchen serving spoon, mix to allow seasonings to coat each potato round.  Super simple, right?

Almost Ready to Grill

Right before you take them to the grill add about 1/4 cup of the rosemary infused oil over your potato rounds and mix to assure each potato is coated with oil.  


Now it’s time to grill…….

Place a single layer of potatoes onto your grill.  Using one of the rosemary twigs as a brush, brush on the infused oil.  Allow to cook for about 7 minutes.  Before you turn them brush on more rosemary oil.  Turn and allow to cook another 7 minutes.  Do not hesitate to brush on that oil any time during the grilling process. 

Once cooked, remove potatoes to a serving bowl and enjoy!


Hi Friends!

Don't Miss out! Subscribe Now!

By joining our community you’ll receive our free Meal Planner, Grocery List and as a bonus we’ll also send you our two favorite recipes! 

Video Tutorial

More Photos to Inspire You

To see more beautiful photography head over to our portfolio or visit our other blog posts.

You want this Recipe!!

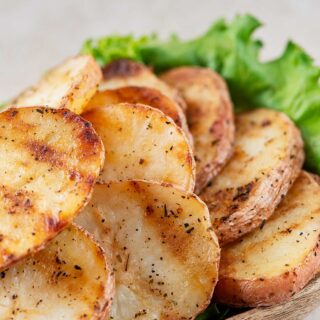
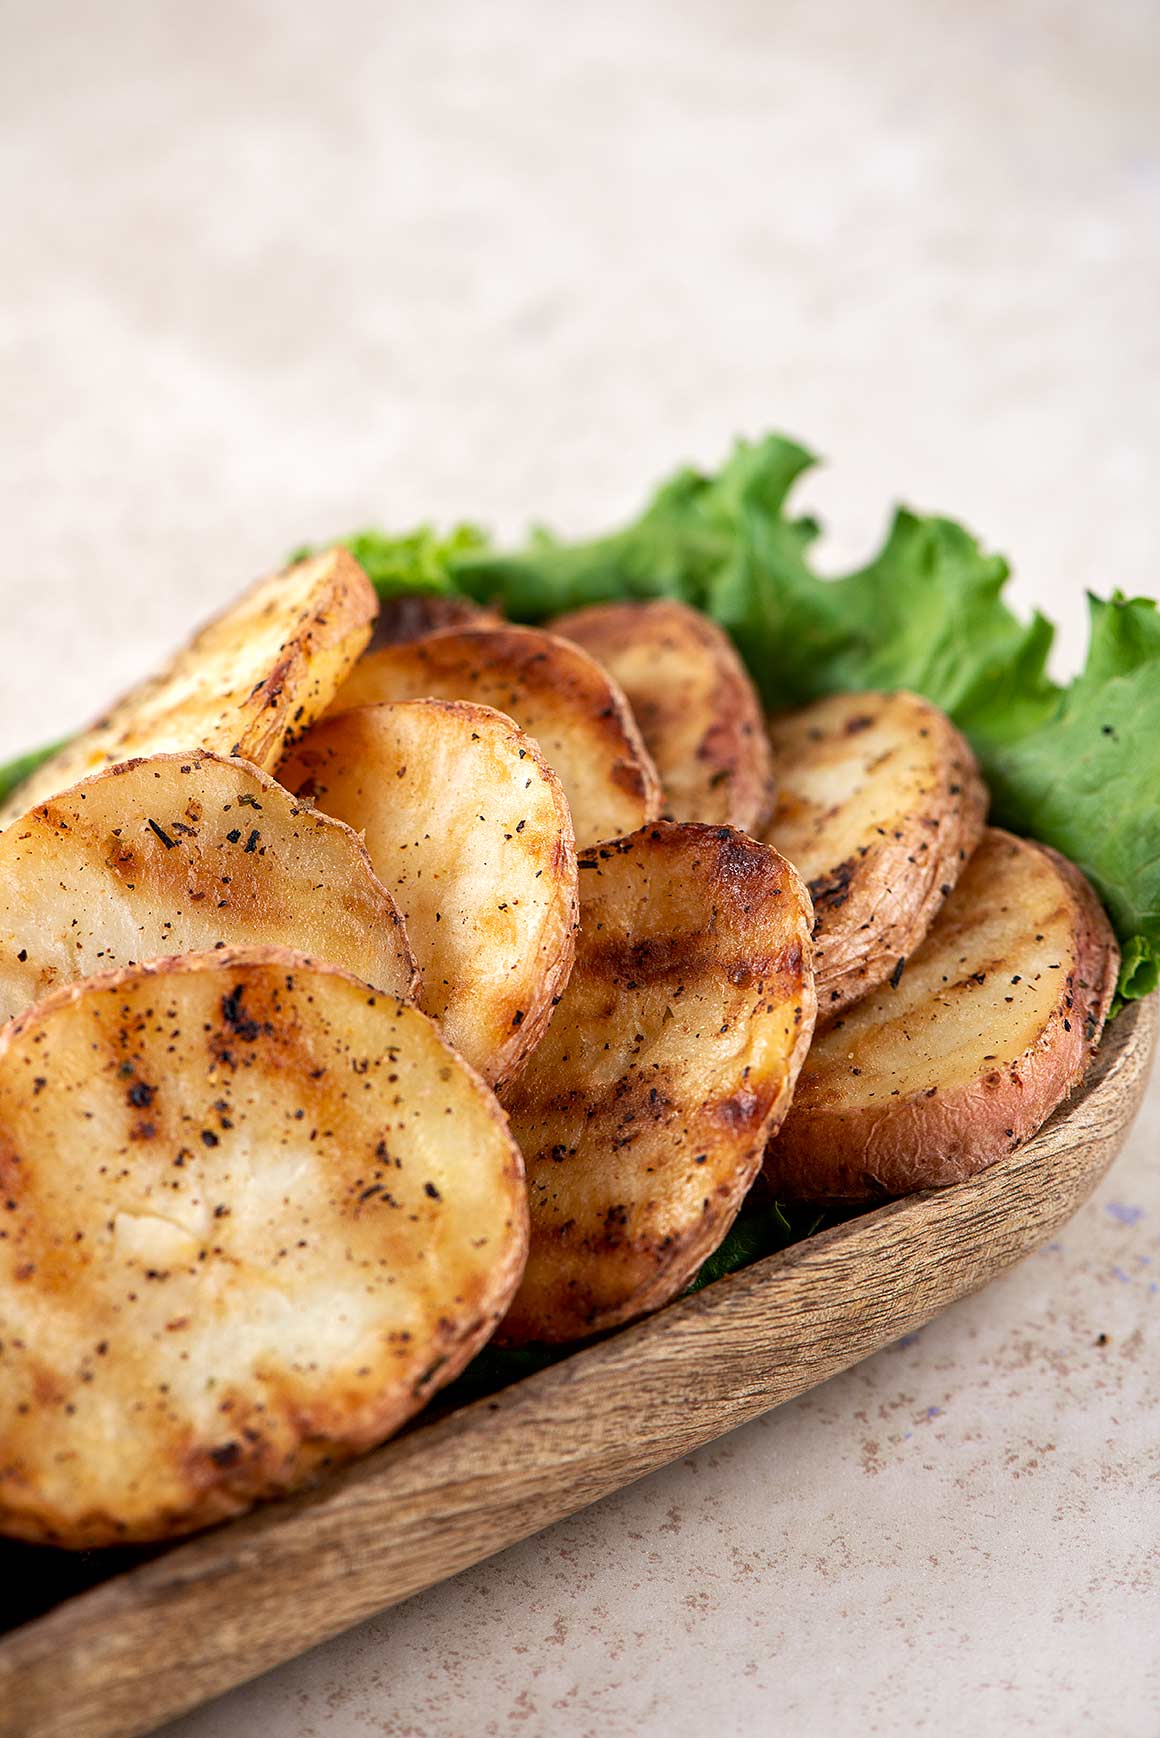
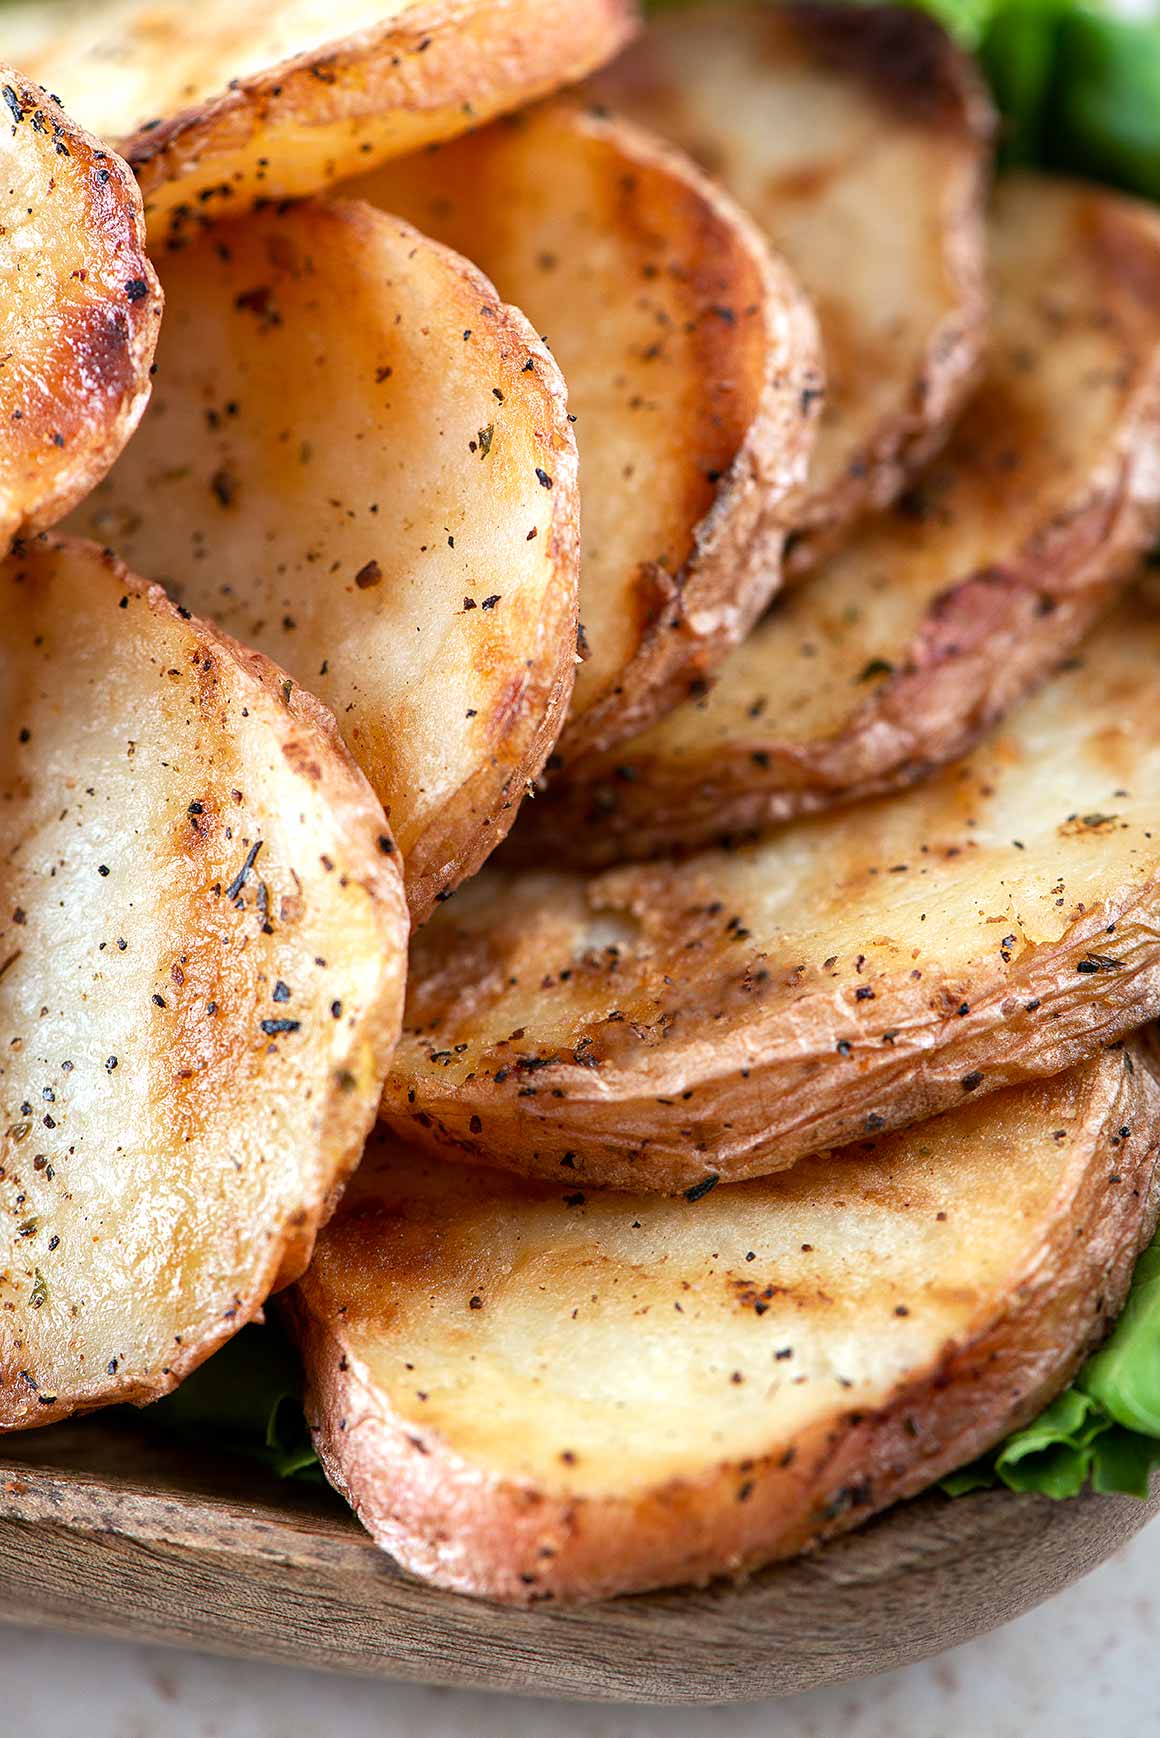
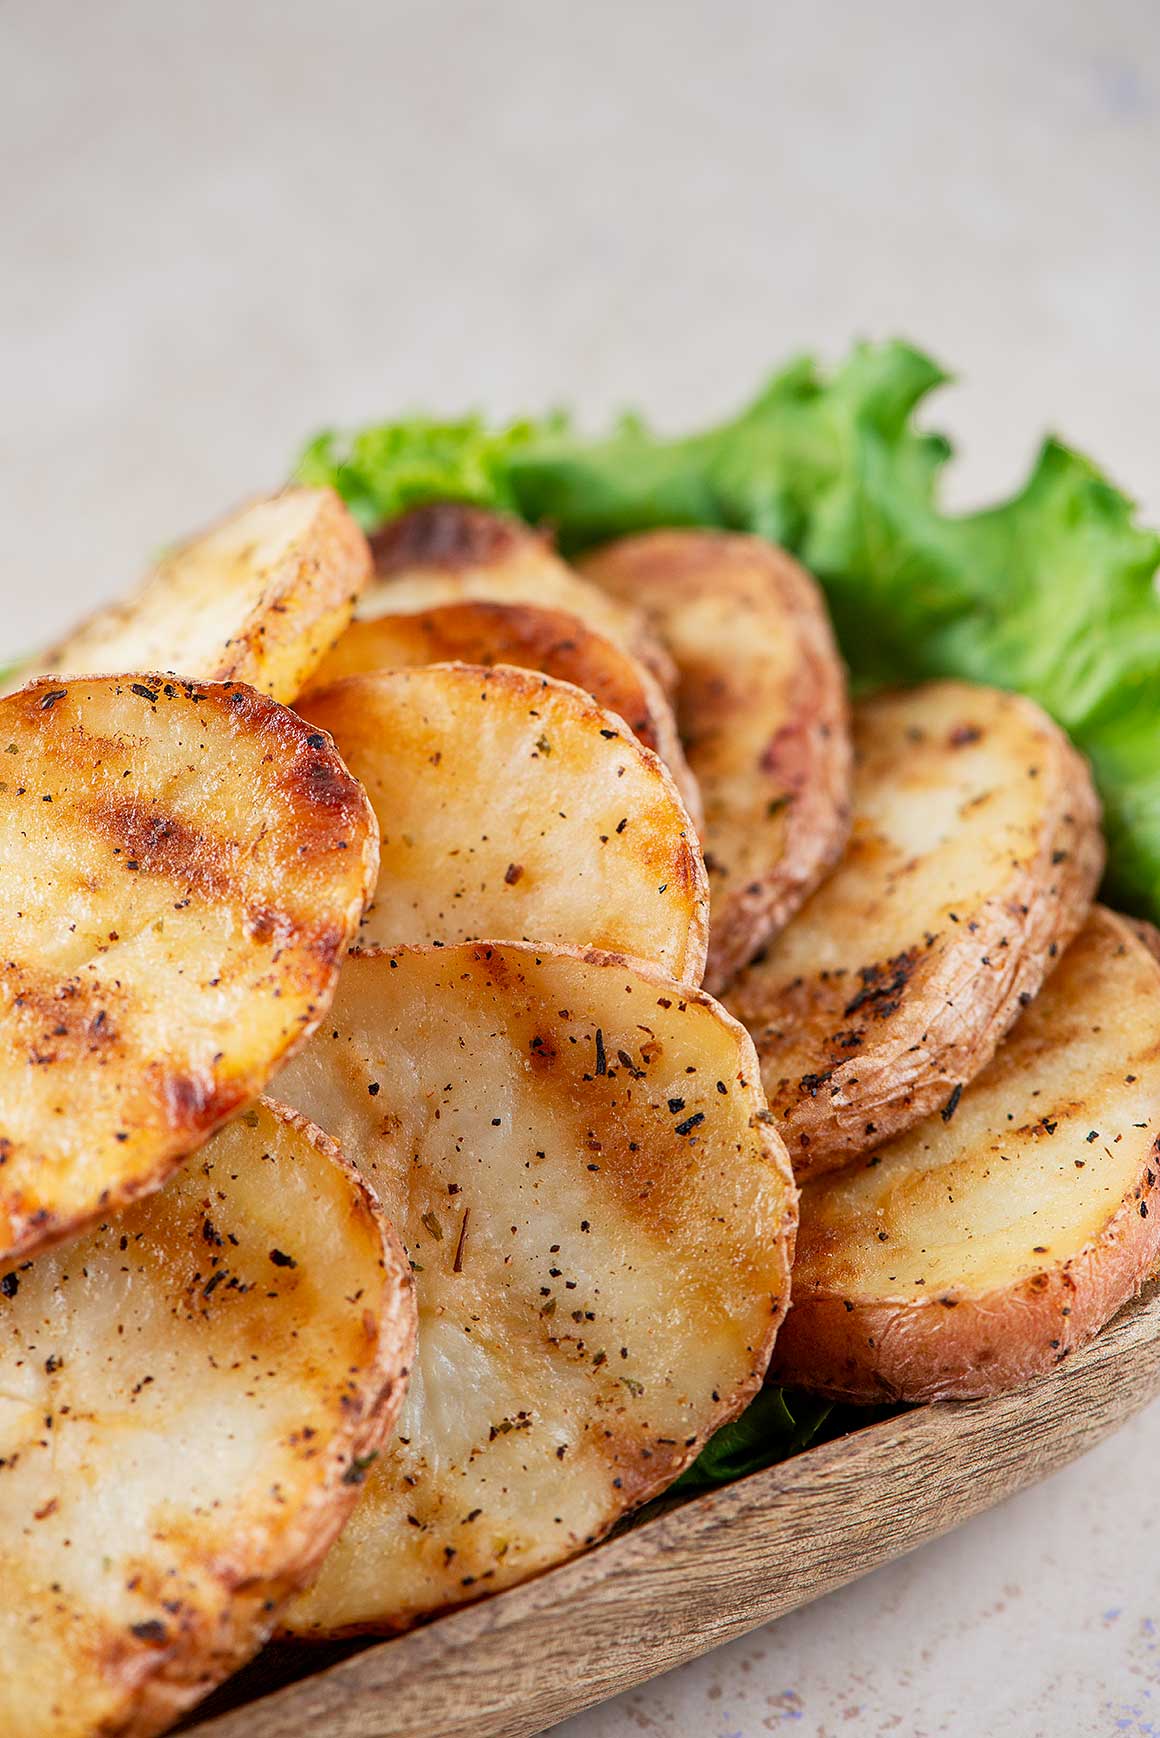
Rosemary Grilled Red Potatoes

This is a family favorite! We know you'll love this recipe!!
Course: Side Dish
Cuisine: American, Italian
Keyword: Grilled, potatoes, Red Potatoes, rosemary

Equipment

  • Indoor grill or BBQ.
  • A small mason jar with a lid.

Ingredients

  • 6-8 medium Red potatoes We usually estimate one red potato per person, they are that good!
  • 1/2 to 1 cup olive oil depends on how many potatoes you're using.
  • 1 tsp salt
  • 1/2 tsp pepper
  • 1/2 tsp parsley
  • 1/2 tsp dry rosemary optional
  • 2 fresh cut rosemary sprigs

Ingredients Seasoning for potatoes

  • 2-3 Tbsp Olive Oil
  • 1/2 tsp salt
  • 1/4 tsp pepper
  • 1/2 tsp Roasted Garlic & Herb Seasoning We used McCormick

Instructions

  • Using a mason jar add your olive oil, salt, pepper, dry parsley, and dry rosemary. Seal the jar and shake well.
  • Rinse to clean freshly cut rosemary. One piece of your rosemary will be placed into your mason jar. Be sure to submerge fully into the oil, allowing the rosemary to infuse into the oil. You can prepare this ahead of time. The longer the rosemary remains in the oil the better the infusion of flavor.
  • Wash, pat dry, and slice potatoes into 1/4 inch rounds.
  • Add sliced potatoes into a mixing bowl. Coat potatoes with Olive oil. Then with salt, pepper, and garlic and herb seasoning.
  • Just before you are ready to grill the potatoes pour 1/4 cup of the rosemary oil over the potatoes and mix to thoroughly coat each slice of potato.
  • Pre-heat grill to medium-high heat.
  • Arrange your sliced potatoes on the grill in a single layer. As the potatoes cook, liberally brush rosemary oil over each potato. For best flavor use a larger rosemary sprig to apply oil. The sprig will act like a brush.
  • Allow potatoes to cook on the first side for approximately 7 minutes and then turn.
  • Brush on more rosemary oil and continue cooking for another 7 minutes.
  • Time may vary from indoor grilling and BBQ grilling. Use a fork to gently test potatoes for doneness.
  • Remove from grill and enjoy.

Around The Table - Chicken Kabobs, Veggies and Potatoes

Tasting the grilled Mediterranean Chicken Kabobs and Rosemary Potatoes.  These are two terrific recipes that we know you’re going to love.  In this video you’ll see us taste test them, lol.  We already know how yummy they are!!  Plus, I’ll show you how to dress up your table for a casual or formal dinning experience.

Find Us On Social Media

Foto Visualista is part of the social media scene.  Please add and follow us on Facebook, Instagram, Pinterest, YouTube and Twitter.  Pin our posts, tweet them and share them!  Follow us to stay current and share us with your friends!  We’ve made this super easy just click on the Sharing is Caring icons to follow us!  

Subscribe

Join our community by subscribing to our blog.  By subscribing you’ll be notified of new blog posts, tips, products and helpful free gifts.  Right now by joining our community you’ll receive our free Meal Planner, Grocery List and as a bonus we’ll also send you our two favorite recipes! 

The Meal Planner is one we’ve used for years and truthfully we’d be lost without it.  Our Grocery List is so helpful.  Just print it, hang it on your refrigerator and easily create a weekly shopping list.  Plus, two of our Favorite Recipes!  

Hi Friends!

Don't Miss out! Subscribe Now!

By joining our community you’ll receive our free Meal Planner, Grocery List and as a bonus we’ll also send you our two favorite recipes! 

Follow us!

Thank You

We are grateful for your interest, suggestions, comments and especially your visits here on the Blog.  Be sure to add your name to our email subscription list!

Above all we appreciate you!  We couldn’t do this without you and look forward to seeing you around the blog, very soon!!!

Leave a Reply

Your email address will not be published. Required fields are marked *

Recipe Rating


Get these "Free" Keto Recipes today!

join the family

Subscribe to our mailing list.