I began searching through my own collection of favorite cookbooks; my tried and true Betty Crocker’s Cookbook, The Complete Italy, “The Beautiful Cookbook”, and The Joy of Cooking. I didn’t know what recipe I was searching for, but knew there had to be an ingredient better than shortening, lard, vegetable oil and …..


4 Responses
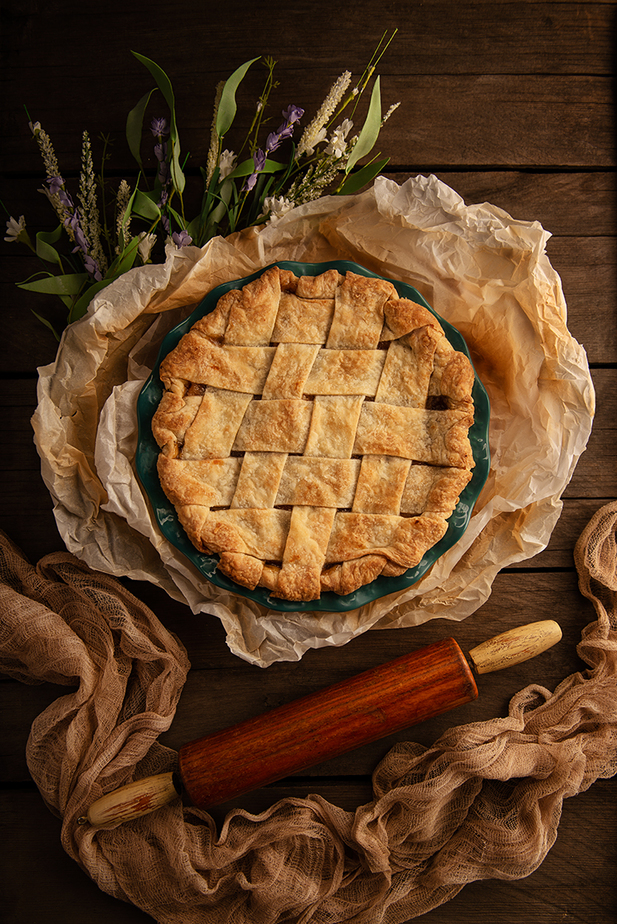
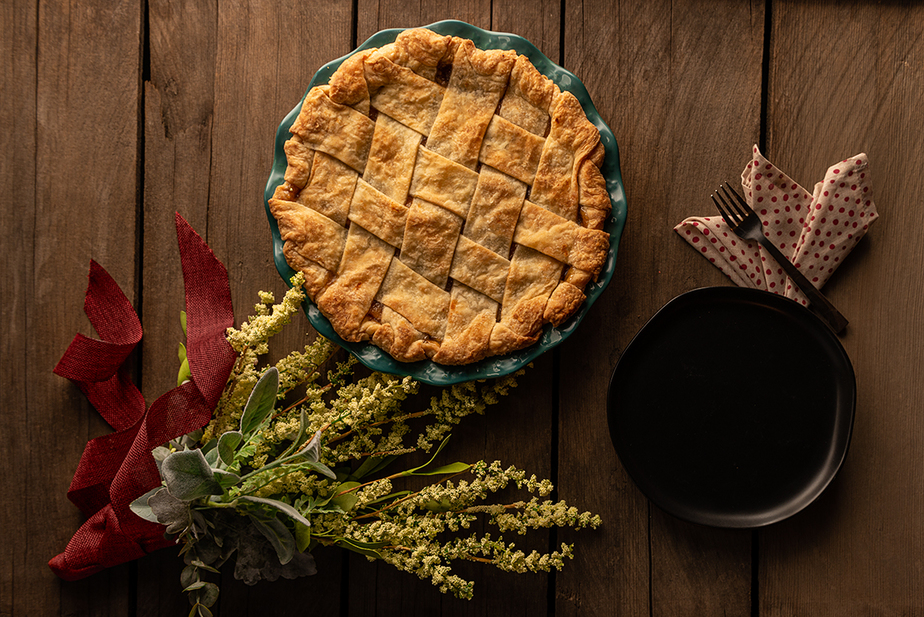
Your pictures are beautiful. This is something I struggle with daily. The pie looks amazing!
Thank you, Gina!
I appreciate your comment and visit.
Please stop by again soon.
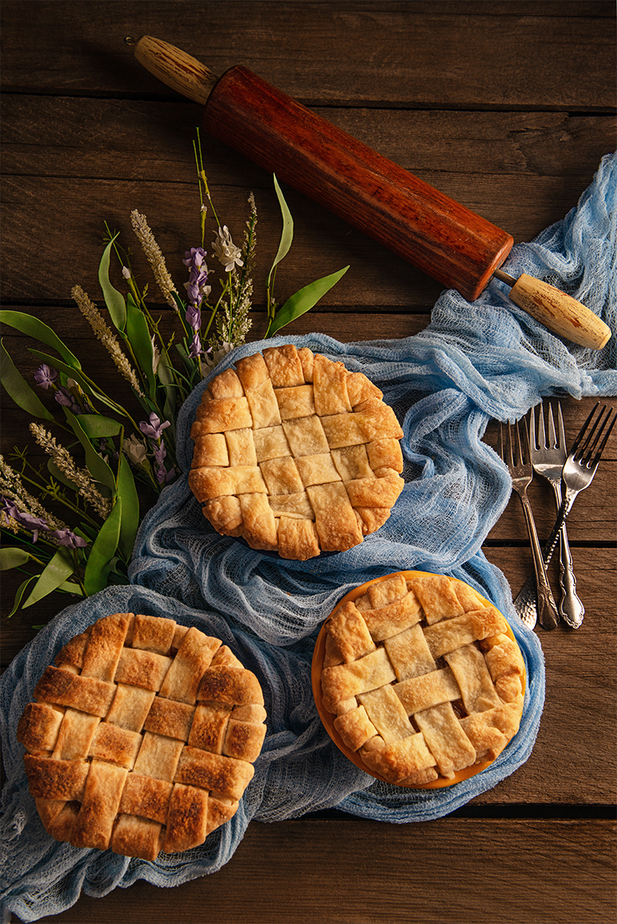
Sounds like an amazing recipe! I was surprised when you said you didn’t cut the butter into the flour! But like you said…it makes sense to layer it! 🙂 Your pie photos are phenomenal!
Thank you for your visit and comment.
I too, was surprised the cutting wasn’t part of this recipe.
Thank you for your lovely compliment on my photography!