
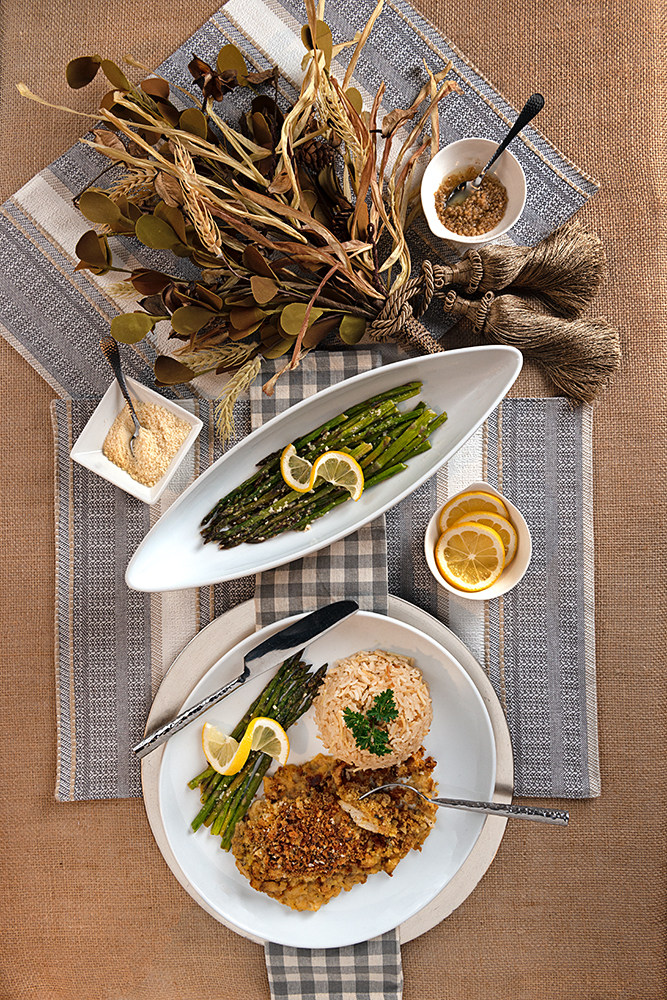
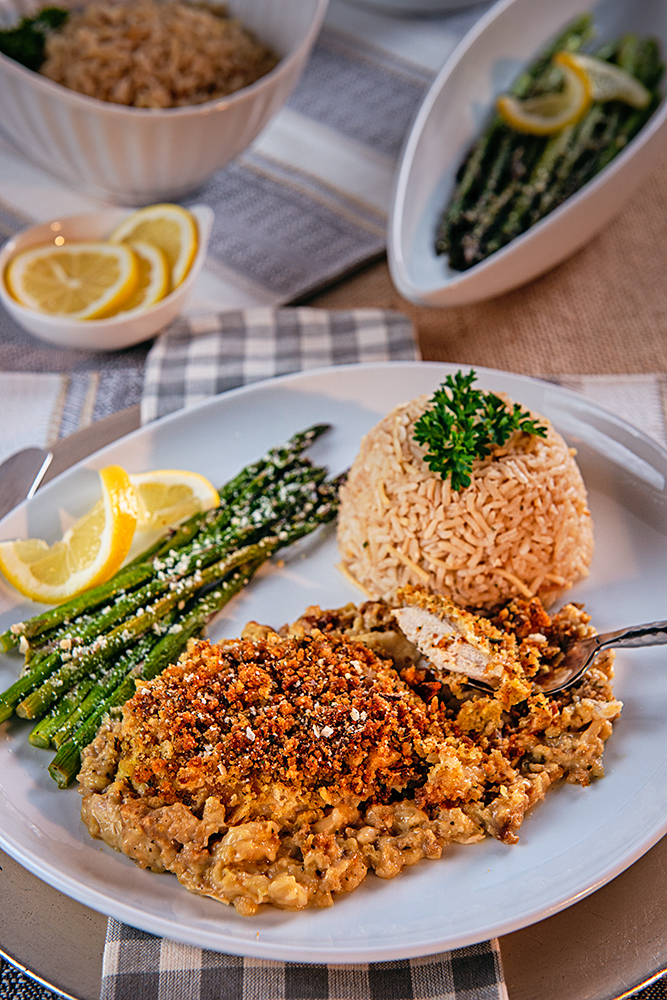
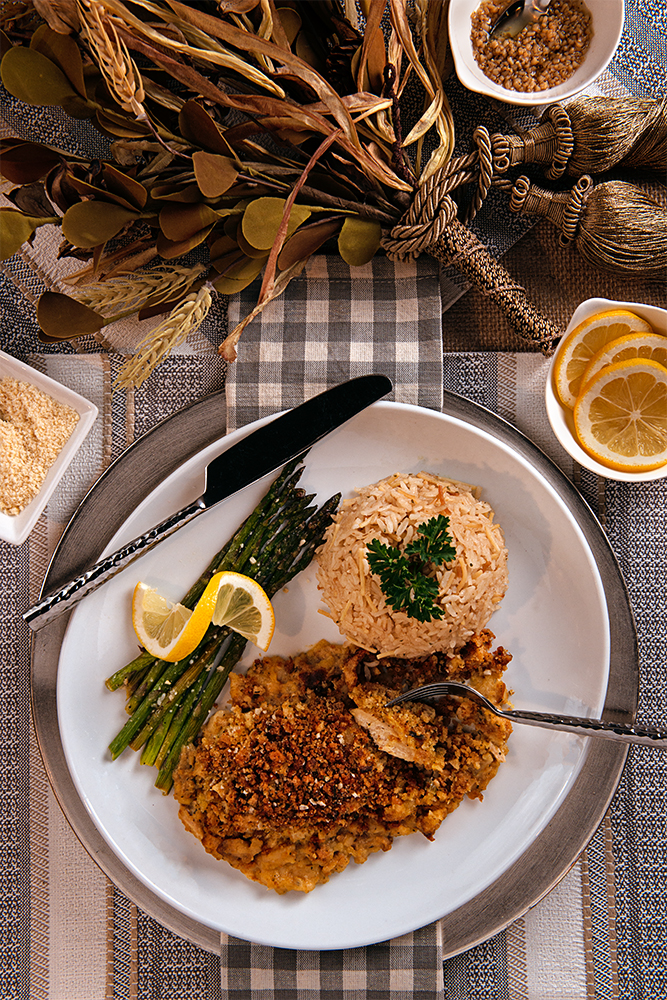
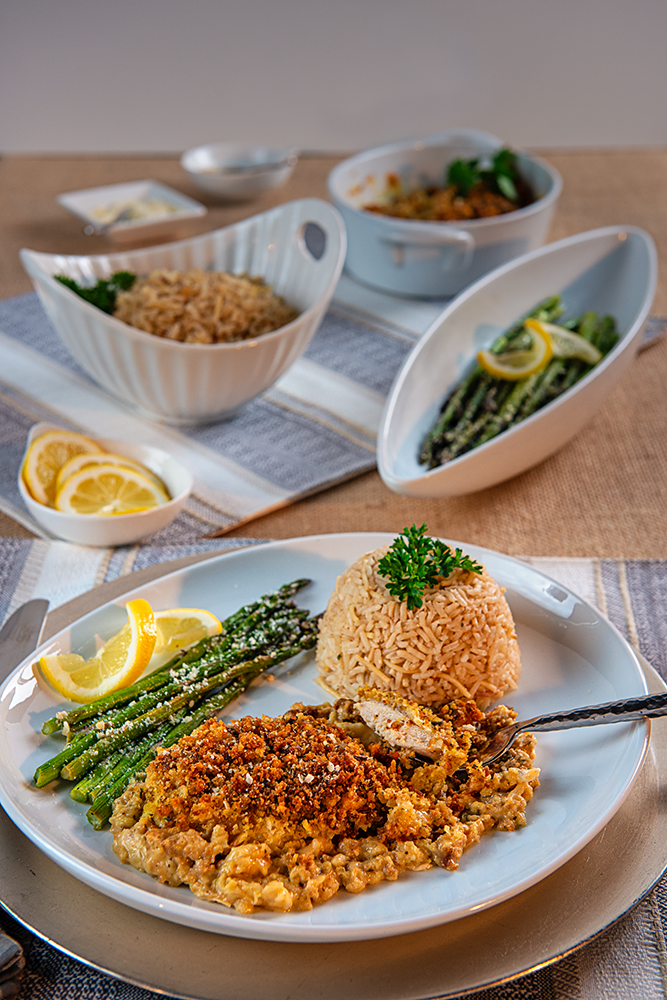
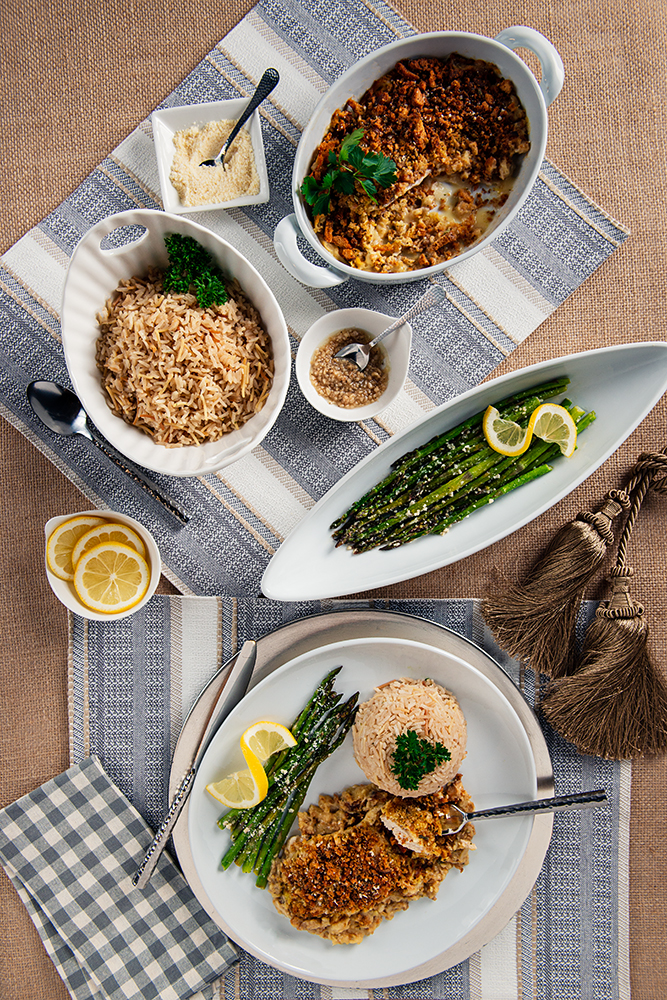
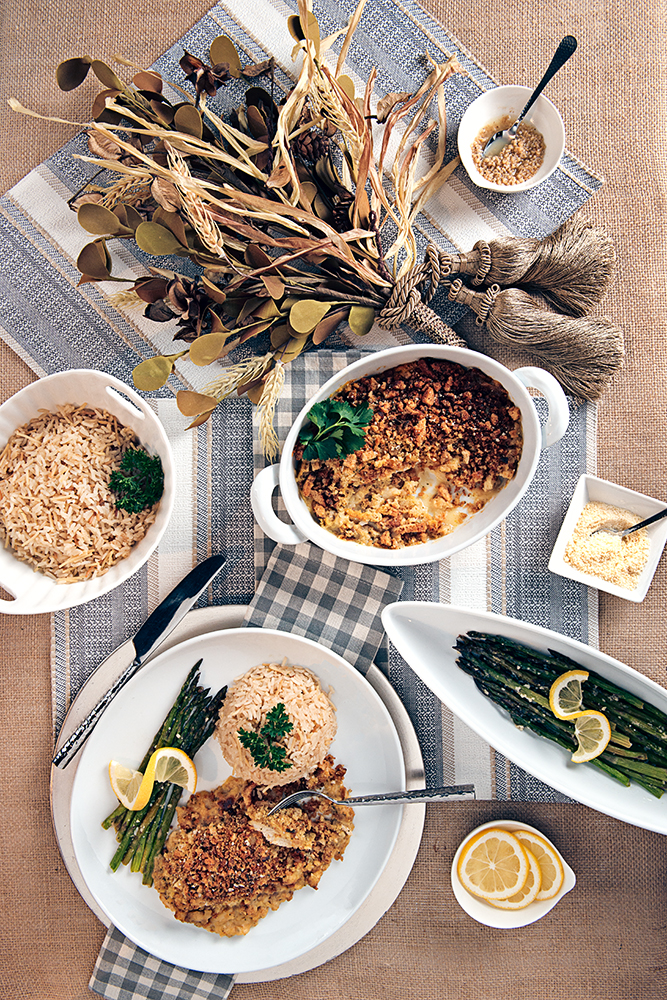
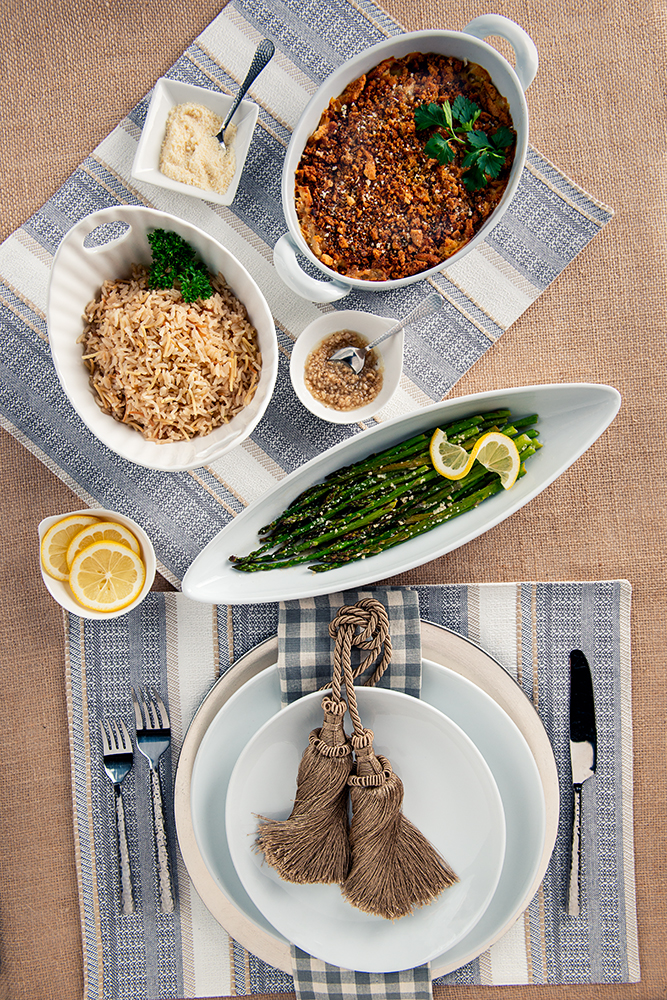
Creamy Baked Chicken The Easy Way
If you’re like me, you want meals that are made the easy way, quick, and delicious. Am I right? Let’s face it, we live in a busy, busy world. What with work, school, homework, after school activities, games, hobbies and …. There is very little time for meal planning, grocery shopping and preparing delicious home cooked dinners. Right? In today’s post we’ve put together a full meal for you. We are going to begin with Creamy Baked Chicken The Easy Way.
This recipe is compliments of my sweet, sweet Godmother, Marie. She is an amazing cook, and her recipes have become family favorites that have been passed down through the generations.
Ingredients
This Creamy Baked Chicken recipe requires only (6) six ingredients. Cost effective ingredients, too! You may have them in your refrigerator, freezer or pantry. You can’t have a chicken recipe without chicken. In this case, chicken breast. To create the creaminess you’ll need Swiss Cheese, Cream of Chicken Soup and a splash of white wine. Butter and plain stuffing for the golden and delicious topping.
Prepping for the Creamy Baked Chicken
Preheat oven to 350 degrees and get out your favorite baking dish. In my case, my go to is an oblong pyrex dish. Gather your ingredients together and lets get started.
The chicken breast will need to be skinned, deboned and sliced in half. We keep it easy by purchasing our chicken breast boneless and skinless. Place the chicken into your baking dish and sprinkle them with salt and pepper to taste. Although the recipe calls for the breasts to be sliced in half, we prefer them whole and made this change many years ago. However, this is our personal preference and your tastes may run more in keeping with the original recipe.
Adding the Creamy to Creamy Baked Chicken
The original recipe calls for (1) one can of Cream of Chicken soup. Over the years, the cans have decreased in size and we now use (2) cans for this Creamy Baked Chicken The Easy Way recipe.
In a medium sized mixing bowl you’ll combine together the soup and white wine, set aside. Not to worry about serving this to little hearts as the wine cooks off during cooking. It helps tenderize and adds subtle flavor to this dish.
A Little about the Wine
A little about the wine, there are many varieties to choose from. We prefer a dry white wine. In our video tutorial, we used wine from a nearby local winery. Our wine was from Yribarren Family Vineyard and their Pinot Grigio.
We are not wine connoisseurs but, we enjoy a glass from time to time. We’ve found using a wine we enjoy drinking makes the dishes flavor that much more enjoyable.
Swish Cheese
The second part of the creamy in this Creamy Baked Chicken the Easy Way is the Swiss Cheese. Place layers of sliced swish cheese to completely cover the chicken breasts. Usually, that’s two slices per chicken breast.
We purchase our sliced swish cheese prepackaged and deli style. The package usually contains 12 slices and we do’t let the extra few slices go back into the refrigerator. We’ll just add them on and increase the dishes’ creaminess.
Back To The Soup Mix
Give the mix a stir and pour it over the Chicken and Cheese. Take time to spread it evenly over the ingredients in your baking dish.
The recipe calls for cream of chicken soup but, we’ve tried other condensed soups. Such as, cream of celery, cream of mushroom and a half and half mix of cream of chicken and cream of potato. It’s a versatile recipe you can tailor to your own tastes. Now who doesn’t like that, right?
Topping For This Creamy Baked Chicken The Easy Way
To make the topping you’ll combine the plain stuffing and melted butter. If the stuffing has a crumbled and coarse look you can immediately add the butter, stir to mix thoroughly. If not, lightly crush the stuffing and then add the melted butter and mix thoroughly. Sprinkle evenly over the top of the Chicken, swiss cheese and soup mixture.
In the video tutorial, we used a chicken flavored stuffing instead of the plain unseasoned stuffing mix we’ve always used. Did we like the change? Yes! Don’t hesitate to switch it up.
Time To Bake
All that’s left is to place it into your preheated 350 degree oven and bake uncovered for 50 to 55 minutes and until the topping is golden brown.
Remember every oven bakes and cooks differently and yours may differ from ours. If that’s the case, and your topping begins to brown you can cover with foil and allow the cooking time to reach the full 50 to 55 minutes.
The Original Recipe
Creamy Baked Chicken The Easy Way
Ingredients:
(4) four whole chicken breasts, split
(8) eight slices Swiss Cheese
(1) one can cream of chicken soup
¼ cup dry white wine
1/3 cup margarine, melted
Make it:
Skin and debone the chicken breasts. Arrange chicken in a shallow baking dish. Season to taste with Salt and Pepper. Cover the chicken with slices of Swiss Cheese, usually (2) two per piece of chicken.
Stir together soup, wine and pour over breasts and swiss cheese.
Coarsely crush the stuffing mix add butter and mix thoroughly. Sprinkle and cover the chicken, swiss cheese and soup mix to create a crumbled topping.
Bake uncovered in a preheated oven for 50 to 55 minutes.
Remove from the oven to cool slightly and enjoy.
Final Thoughts
The Creamy Baked Chicken Recipe The Easy Way is a delicious recipe, cost effective and very easy to make. If you watched the video tutorial, and I hope you do, you’ll find we’ve changed the recipe slightly over the years. Mostly, because the ingredients have decreased in size or are no longer available. None of which has affected the yumminess of this dish. In fact, we feel it’s even better. After trying the original recipe you may feel adventurous and decide to mix it up a bit, too!
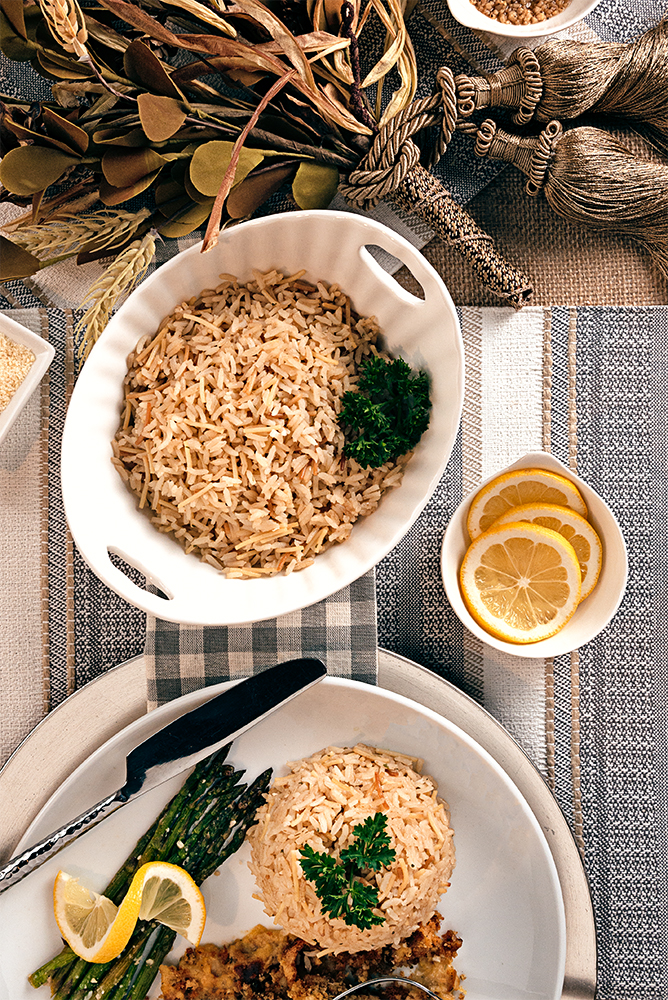
Dave’s Garlic Rice Pilaf
Dave’s Garlic Rice Pilaf is delicious and one he’s perfected over the years. He’s tested different versions of this recipe, all of them good and tasty, but none of them perfected. He’s kept the ingredients simple and readily available at your local grocery store.
Ingredients
Can’t have Dave’s Garlic Rice Pilaf with the rice. His rice of choice is Basmati Rice. But, I’m sure there are many other types of rice that’ll work. If your favorite rice differs, don’t hesitate to use it.
He adds a small amount of thin pasta; such as, Vermicelli or Angel Hair pasta. He likes the way these pasta’s brown up, giving the Pilaf color variation. Like a feast for your eyes, lol.
For flavor he adds chopped garlic. This really makes the flavor difference! He doesn’t add a large quantity, but just enough for a hint of delicious garlic flavor.
Can’t forget the water. To add flavor he adds in Bullion cubes. His brand of choice is Knorr and the Caldo con sabor De Pollo or Chicken flavor Bouillon cubes.
Making Dave’s Garlic Rice Pilaf
To make Dave’s Garlic Rice Pilaf add butter to a saute pan, heat until it’s melted and bubbly. Add in your Garlic, rice and pasta, browning until rice and pasta is a golden brown color.
Next, add in your water, pouring slowly and expect a bit of steam. Crumble or break up your billion adding it in, stir slowly and continuously until dissolved. Once the water, rice, pasta, garlic and dissolved billion reaches a boil, cover and reduce heat to low. Allow to cook for 16 minutes. Be sure to set your timer.
Here’s a big tip….Resist the temptation to lift the lid! Nope, don’t do it. If you do you’ll ruin Dave’s Garlic Rice Pilaf.
After 16 minutes and once your timer has gone off, remove from heat (don’t be tempted to lift the lid, nooo don’t do it) and let sit for 5 to 10 minutes. Fluff with a fork and serve.
Recipe for Dave’s Garlic Rice Pilaf
Ingredients:
1 cup Rice
¼ cup Vermicelli or thin pasta, such as, Angel Hair or Capellini
(1) One Clove of Garlic, chopped (If you’re a garlic lover add (2) cloves
(1) cube of Knorr Chicken Flavor Bouillon, crumbled or broken up
(2) cups Water
½ cube of butter
Make it:
In a saucepan add butter until melted and bubbly. To that add, Rice, Vermicelli, Garlic and brown to a golden color.
When the rice, vermicelli and garlic have browned slowly add water and crumbled bouillon. Stirring continuously until the bouillon has dissolved and the water is boiling.
Cover saucepan with a lid, reduce heat to low and cook for 16 minutes. Do Not Lift The Lid!
After 16 minutes, turn off the burner, remove from heat allowing rice to sit covered for 10 minutes.
After 10 minutes fluff with a fork and serve.
Final Thoughts
Dave’s Garlic Rice Pilaf is quick, easy and tasty! He’s perfected it and stresses “Do Not Lift The Lid”! If his directions are followed, the rice will be creamy and oh so good. I hope you enjoy this recipe as much as I enjoy eating it, lol. Please try the recipe and share your thoughts by dropping us a comment. We also, have a sweet cornbread recipe that would complete this meal.
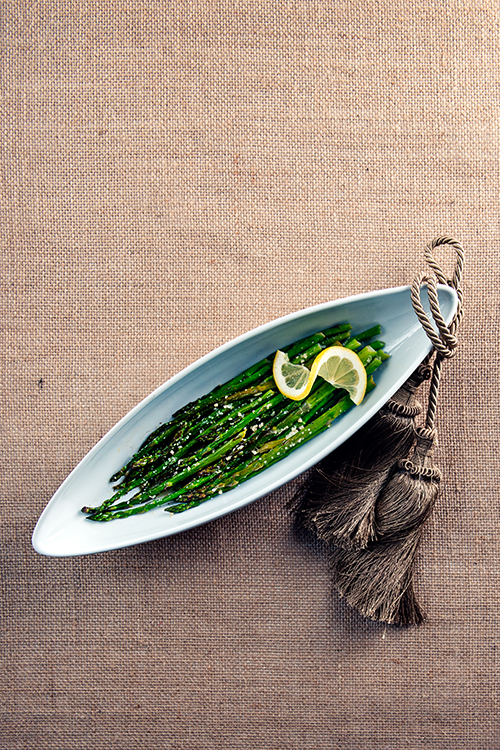
Sauteed Asparagus
I’m a big fan of asparagus, especially my sauteed asparagus. When shopping I look for a medium thickness, and I don’t like a thick, stringy stalk nor do I like a spaghetti thin stalk. I’m a bit particular, how about you? Which do you prefer?
Ingredients
There are only five simple ingredients. That’ll work and will fit nicely into a quick and simple veggie dish. Select a bunch of asparagus, in the thickness you prefer. I prefer a mix of oil and butter for sauteing. Chopped Garlic or use a jar of pre chopped minced garlic packed in oil. Lemon juice and zest.
Making my Sauteed Asparagus
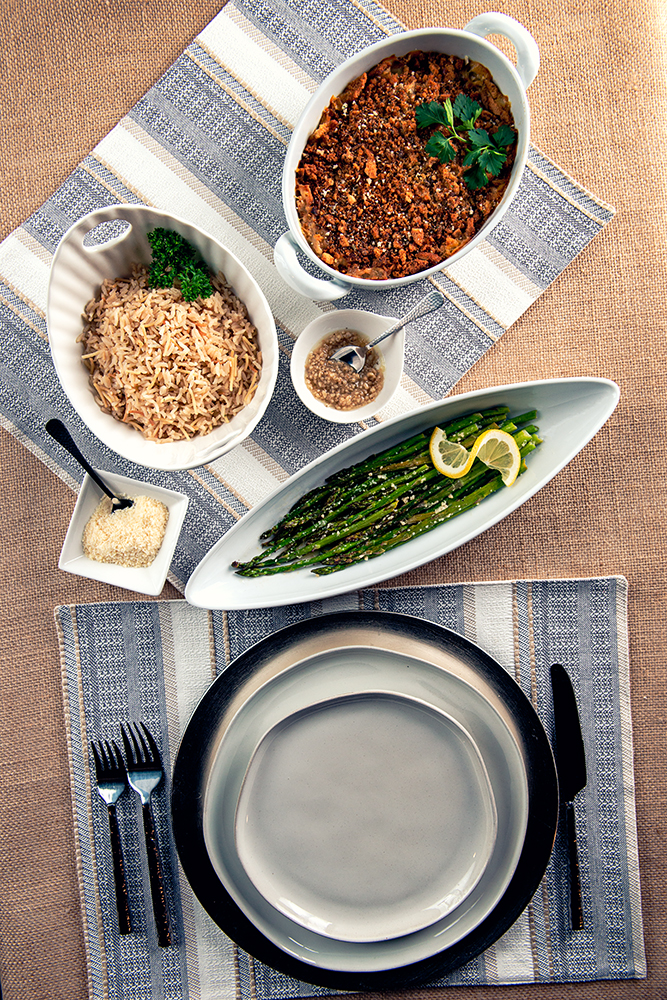
My Sauteed Asparagus is quick and fits perfectly with the Creamy Baked Chicken The Easy Way, and Dave’s Garlic Rice Pilaf. You can whip this together after your chicken is baking and your Pilaf is in its 16 minute cooking stage.
You’ll need to make this in a saute pan with a lid. Place pan on stove top or burner and heat to medium. To that add in your oil allowing it to heat slightly before adding in your butter. Once heated and bubbly add in your cleaned and prepared asparagus. Thoroughly coat the asparagus with the oil and butter mixture. Slice a lemon in half and squeeze its juice over the asparagus.
Cover your sauce pan with it’s lid and allow it to steam and simmer. The length of time it simmers is purely personal preference as to the doneness of your asparagus. I or we prefer ours to a medium doneness. Not too firm and not mushy. For our taste that’s between 5 to 10 minutes.
About ½ way through the cooking time add in the chopped garlic and lemon zest, toss and recover the saute pan with it’s lid. Continue cooking until it has reached your preferred doneness. Remove add lemon zest to the top of the asparagus and serve immediately.
The Recipe for Sauteed Asparagus
Ingredients:
(1) one bunch of asparagus, in your preferred thickness
(4) cloves garlic, chopped
(1) Tablespoon of oil
(2) Tablespoons of butter
Juice from ½ lemon and lemon zest
Make it:
Clean and prepare asparagus. In a saucepan heat oil and butter until butter has melted and is bubbly. Add in asparagus, salt and pepper to taste, giving the asparagus a toss to coat thoroughly. Squeeze the juice of ½ lemon over asparagus and then cover saute pan with lid and saute for 5 to 10 minutes or to your preferred doneness. Half way through the cooking time add in garlic and continue to simmer covered until done.
Remove from heat, add lemon zest and serve immediately.
Final Thoughts
We love our asparagus prepared this way. We’ve often added in chopped onions or peppers. If you like a bit of spice add red pepper flakes or a chopped jalapeno pepper, while the asparagus is steaming and sauteing. Another recipe you can adjust to taste.
For us, my sauteed asparagus compliments the Creamy Baked Chicken The Easy Way and Dave’s Garlic Rice Pilaf. We hope you’ll enjoy this flavorful, quick and easy dinner. Be sure to drop us a comment and let us know how yours turns out.
Comment, Follow, Add, Like, Pin, Share and Tweet
Foto Visualista Photography is part of the social media scene. Please add us on your social media. Pin our posts, tweet us and our posts, add/follow us to stay current with our blog posts, share us with your friends or drop us a comment. We are grateful for your visit and hope to see you around the blog again soon!
